
My First "From Scratch" Project
After finishing the restoration of two family heirlooms, I was eager to put my newfound woodworking skills to the test by creating something entirely new. With a modest collection of tools and no dedicated workshop, I turned to my family for inspiration.
My daughter, an avid gardener, had the perfect request: “Could you build me a compost bin?” She and her husband had recently moved into their first home, and she wanted to expand her garden, not just in size, but in sustainability. Her vision was clear: a large, functional bin with a removable front panel so she could easily access, turn, and manage the compost as it broke down into rich, dark soil.
Design & Material Selection
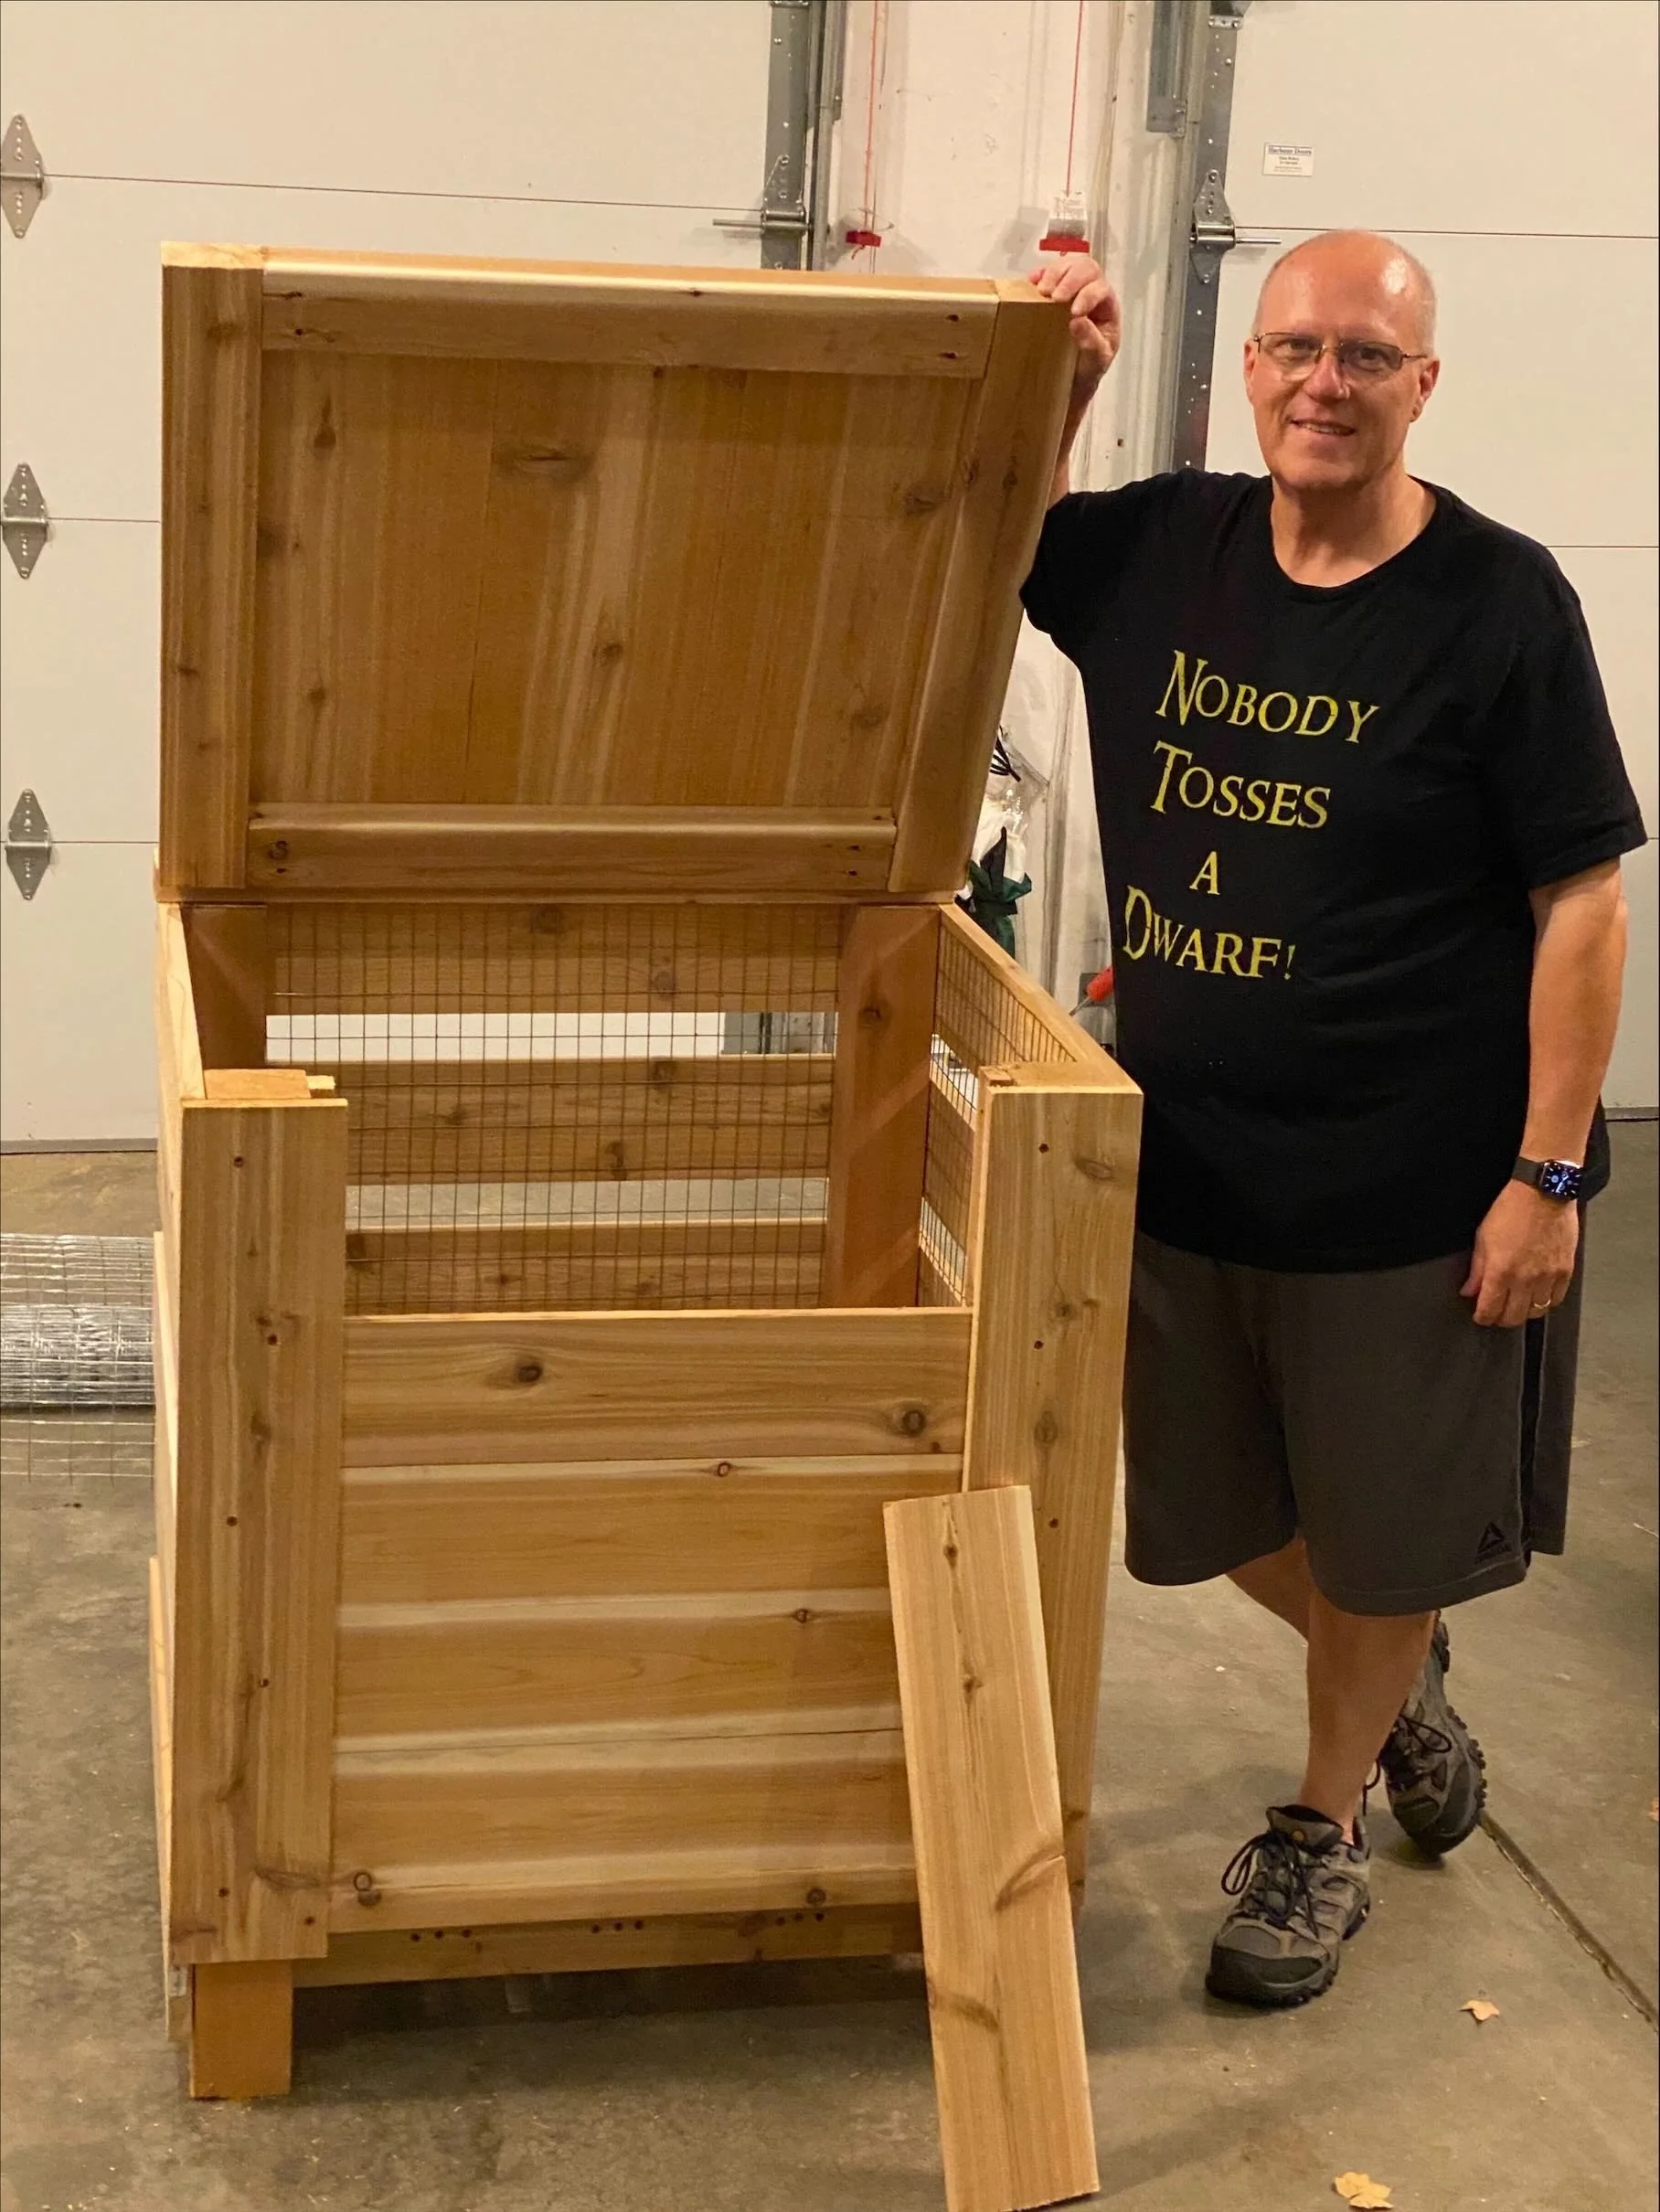
I started researching DIY compost bins, looking for the best features and dimensions. I wanted to make something sturdy, weather-tough, attractive, and most of all, useful. With so many options out there, I decided to focus on simplicity and functionality, ultimately settling on a cube-shaped design (36" x 36" x 36"). Spacious enough to handle plenty of yard and kitchen waste, but manageable for assembly and maintenance.
For the wood, I chose aromatic cedar, because it was seemingly one of the best materials you can use outdoors. Cedar contains natural oils that resist rot, moisture, and insects. It is perfect for a structure that would sit outside year-round and hold decaying organic matter. It’s also eco-friendly, untreated, and ages well, so while the contents of the bin may break down, the structure would not.
The design included:
Four strong cedar corner posts
Slatted sides for airflow
Spacing between slats for drainage and ventilation
A lined interior with chicken wire to keep critters out
A removable front, using vertical channels so the slats could be slid in and out easily for turning and removing compost
Working without a workshop meant adapting my methods: simple butt joints secured the slats along three sides, while careful measurement ensured everything fit snugly and securely. The most complex bit was the front, routing channels along the posts so my daughter could remove or add the slats as needed, making the bin flexible for any stage of composting.
For the lid, I wanted something protective but easy to use. My initial design ended up a bit heavier than planned, so I purchased lightweight struts to assist lifting and to keep the lid open when working. This small adjustment made the bin much more practical for daily use.
Reflections
Once complete, the cedar compost bin was both sturdy and looks good in her back yard. Even more rewarding is that it has quickly transformed kitchen scraps and yard waste into rich, nutritious soil, helping her vegetable garden thrive. In many ways, that compost bin symbolized a turning point for me too. Unlike the refinishing projects I had started with, this was a chance to create something original, something useful, and something lasting. Building it marked my first true step into making, and in doing so, I found a whole new kind of fulfillment.