

Using aromatic cedar brought a rich warmth and natural beauty to the piece, while its durability and resistance to decay made it as practical as it is inviting. Accents of Birdseye maple added contrast, and thoughtful hardware planning tied it all together. Seeing the finished stand in our gathering space, I’m proud of how it blends craftsmanship with connection.


In every grain of wood lies a story—of time, of nature, and of the maker’s touch. To shape it is to honor it.

Refinishining Projects

Before
Before
After
After
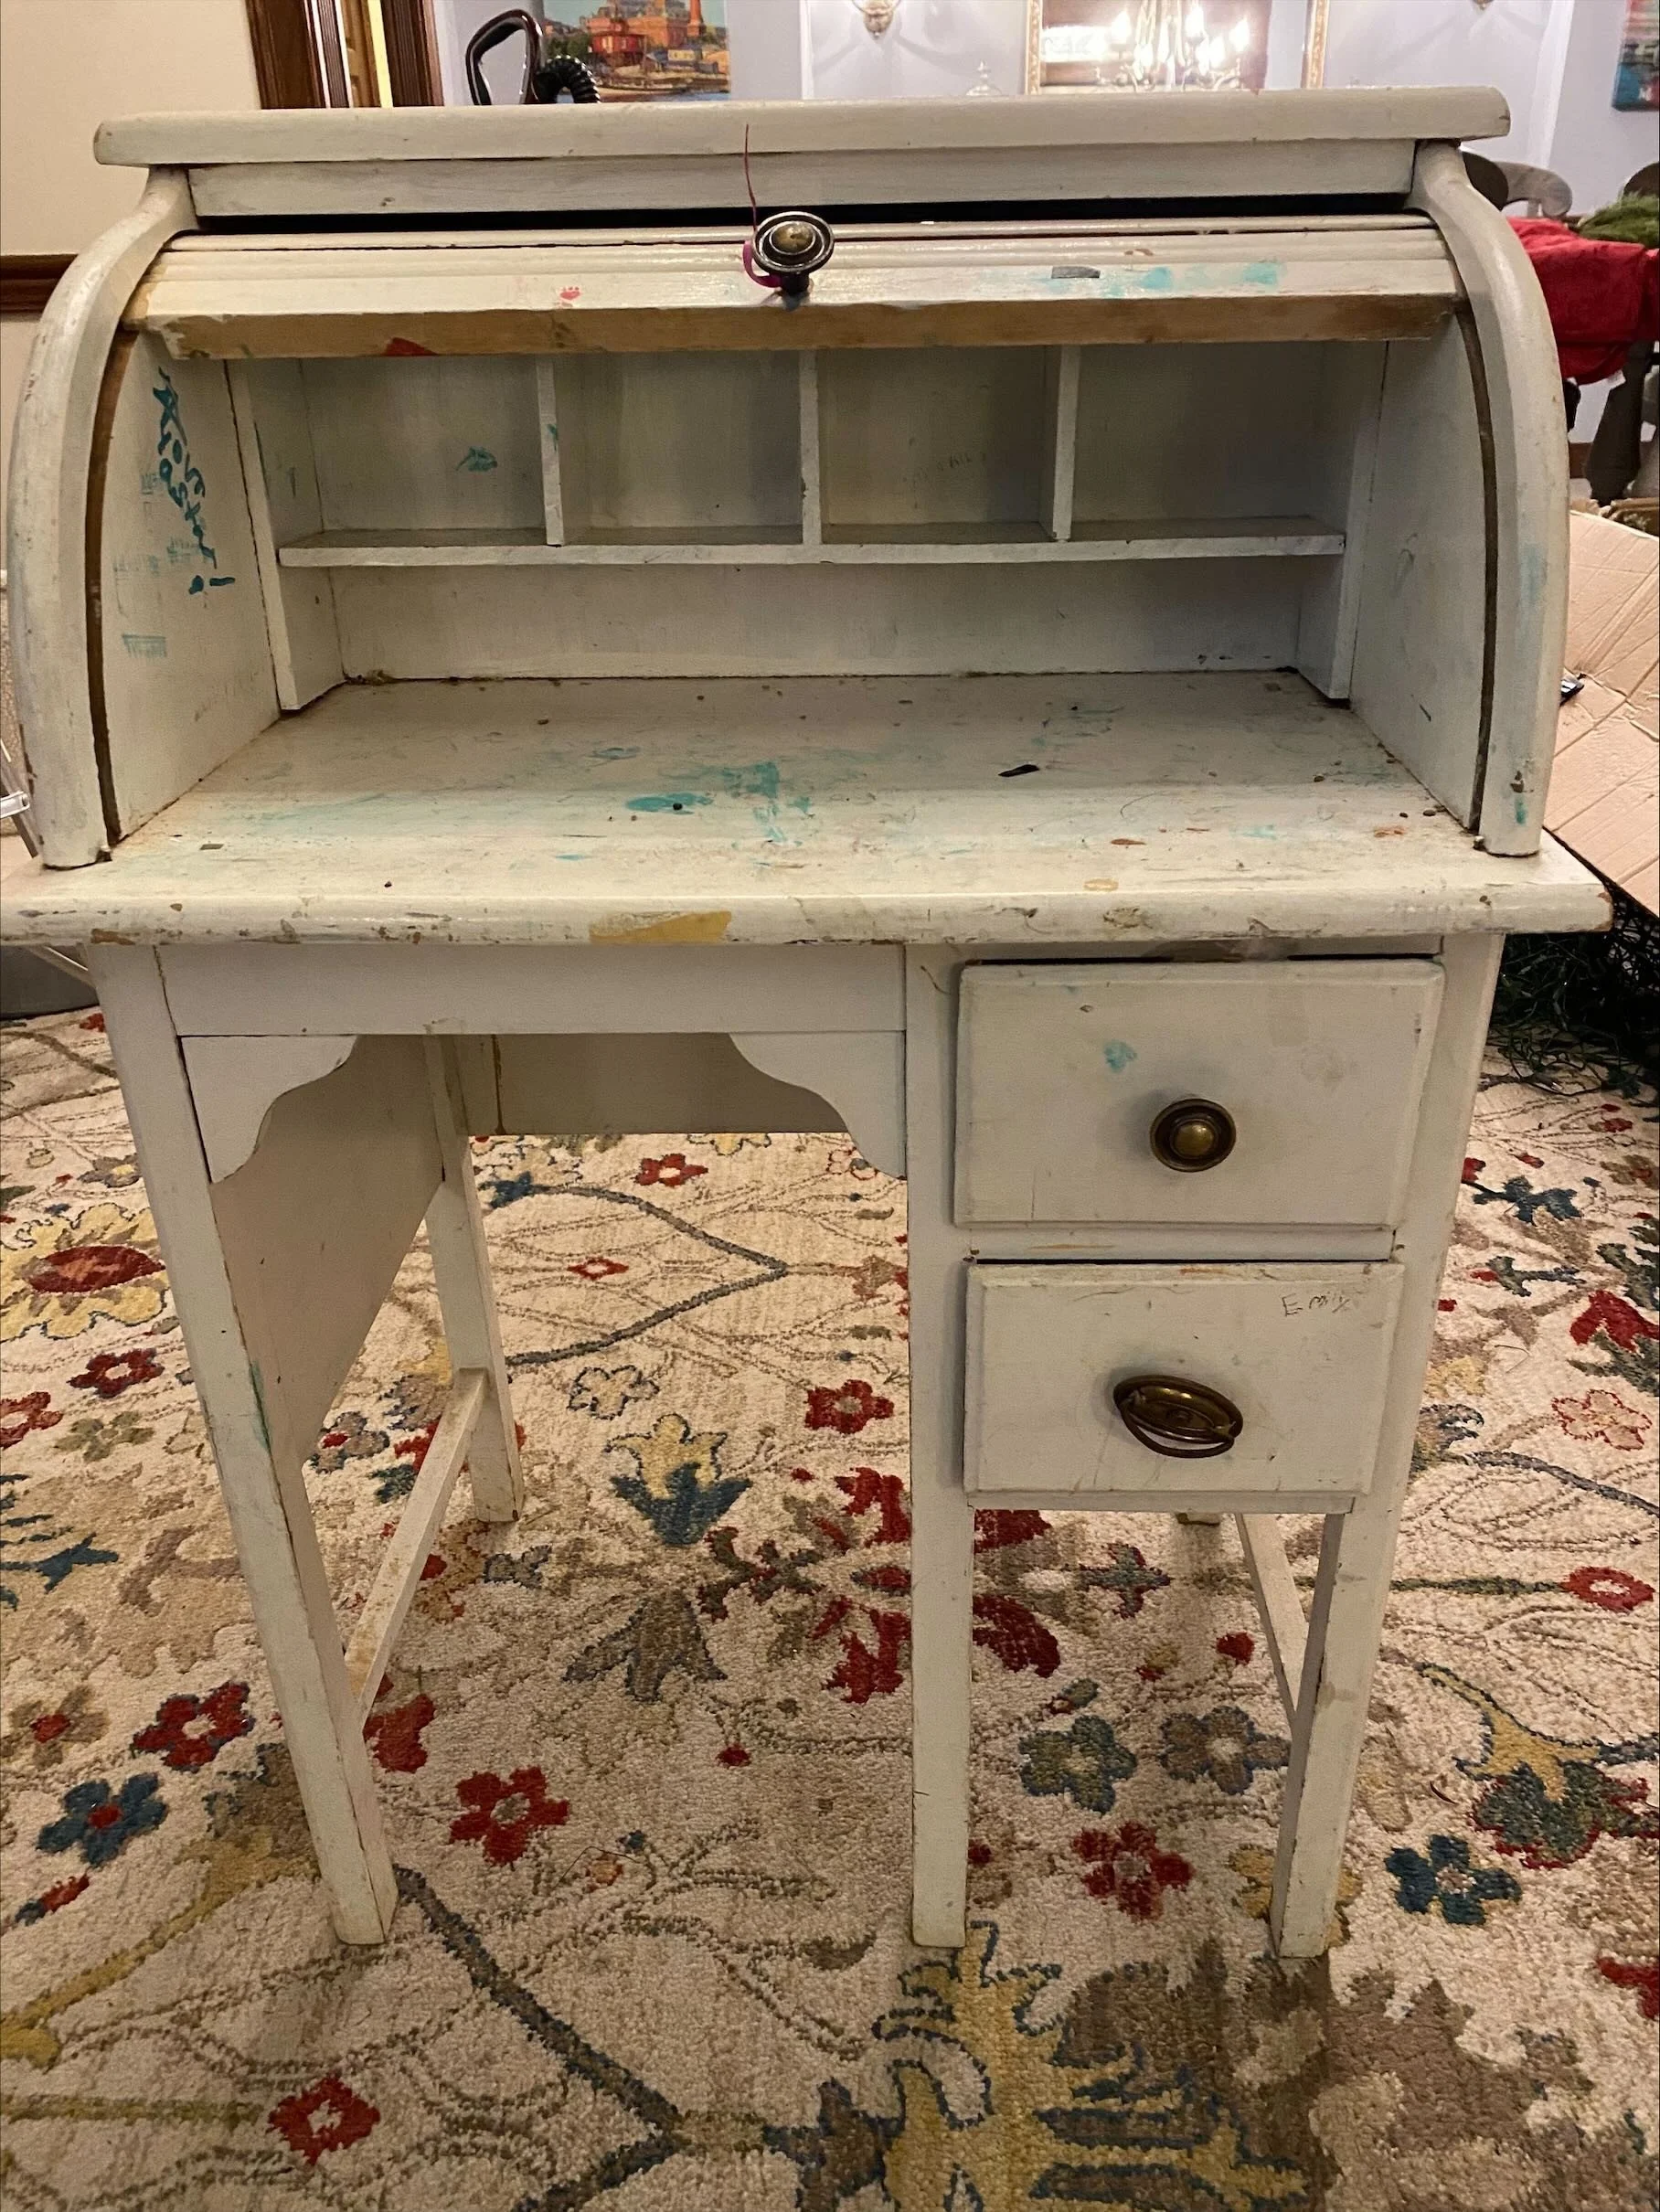
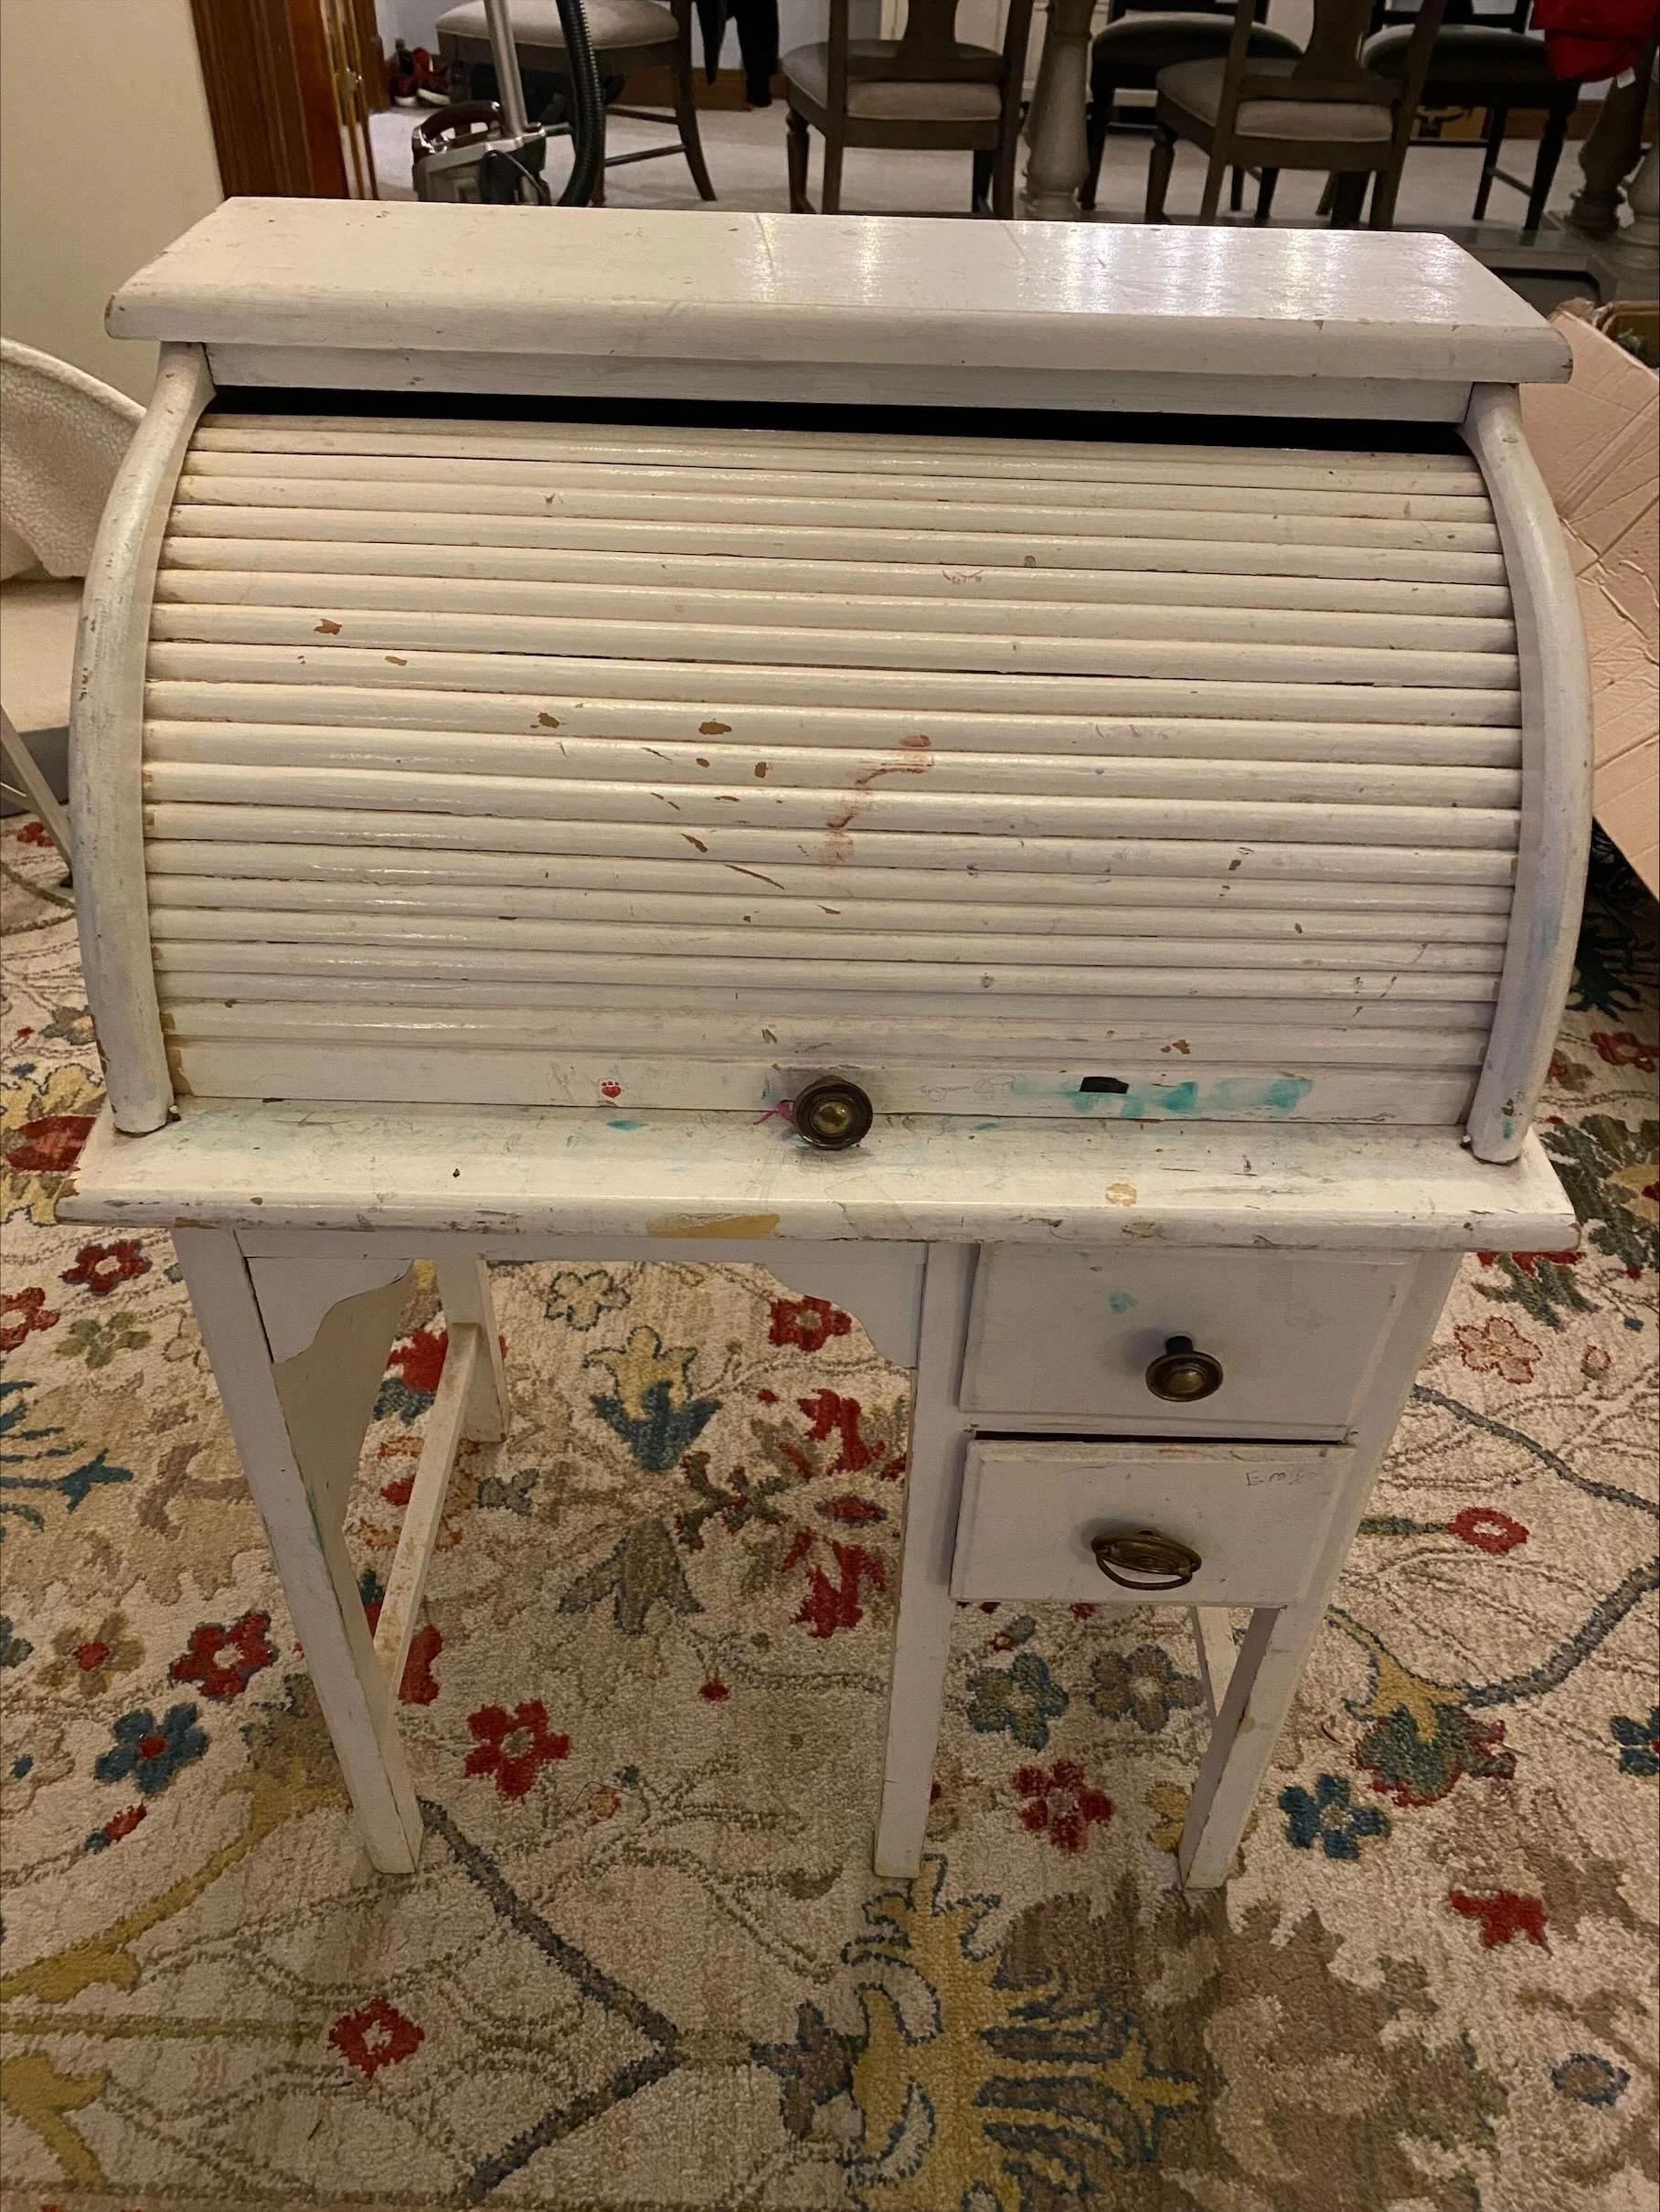
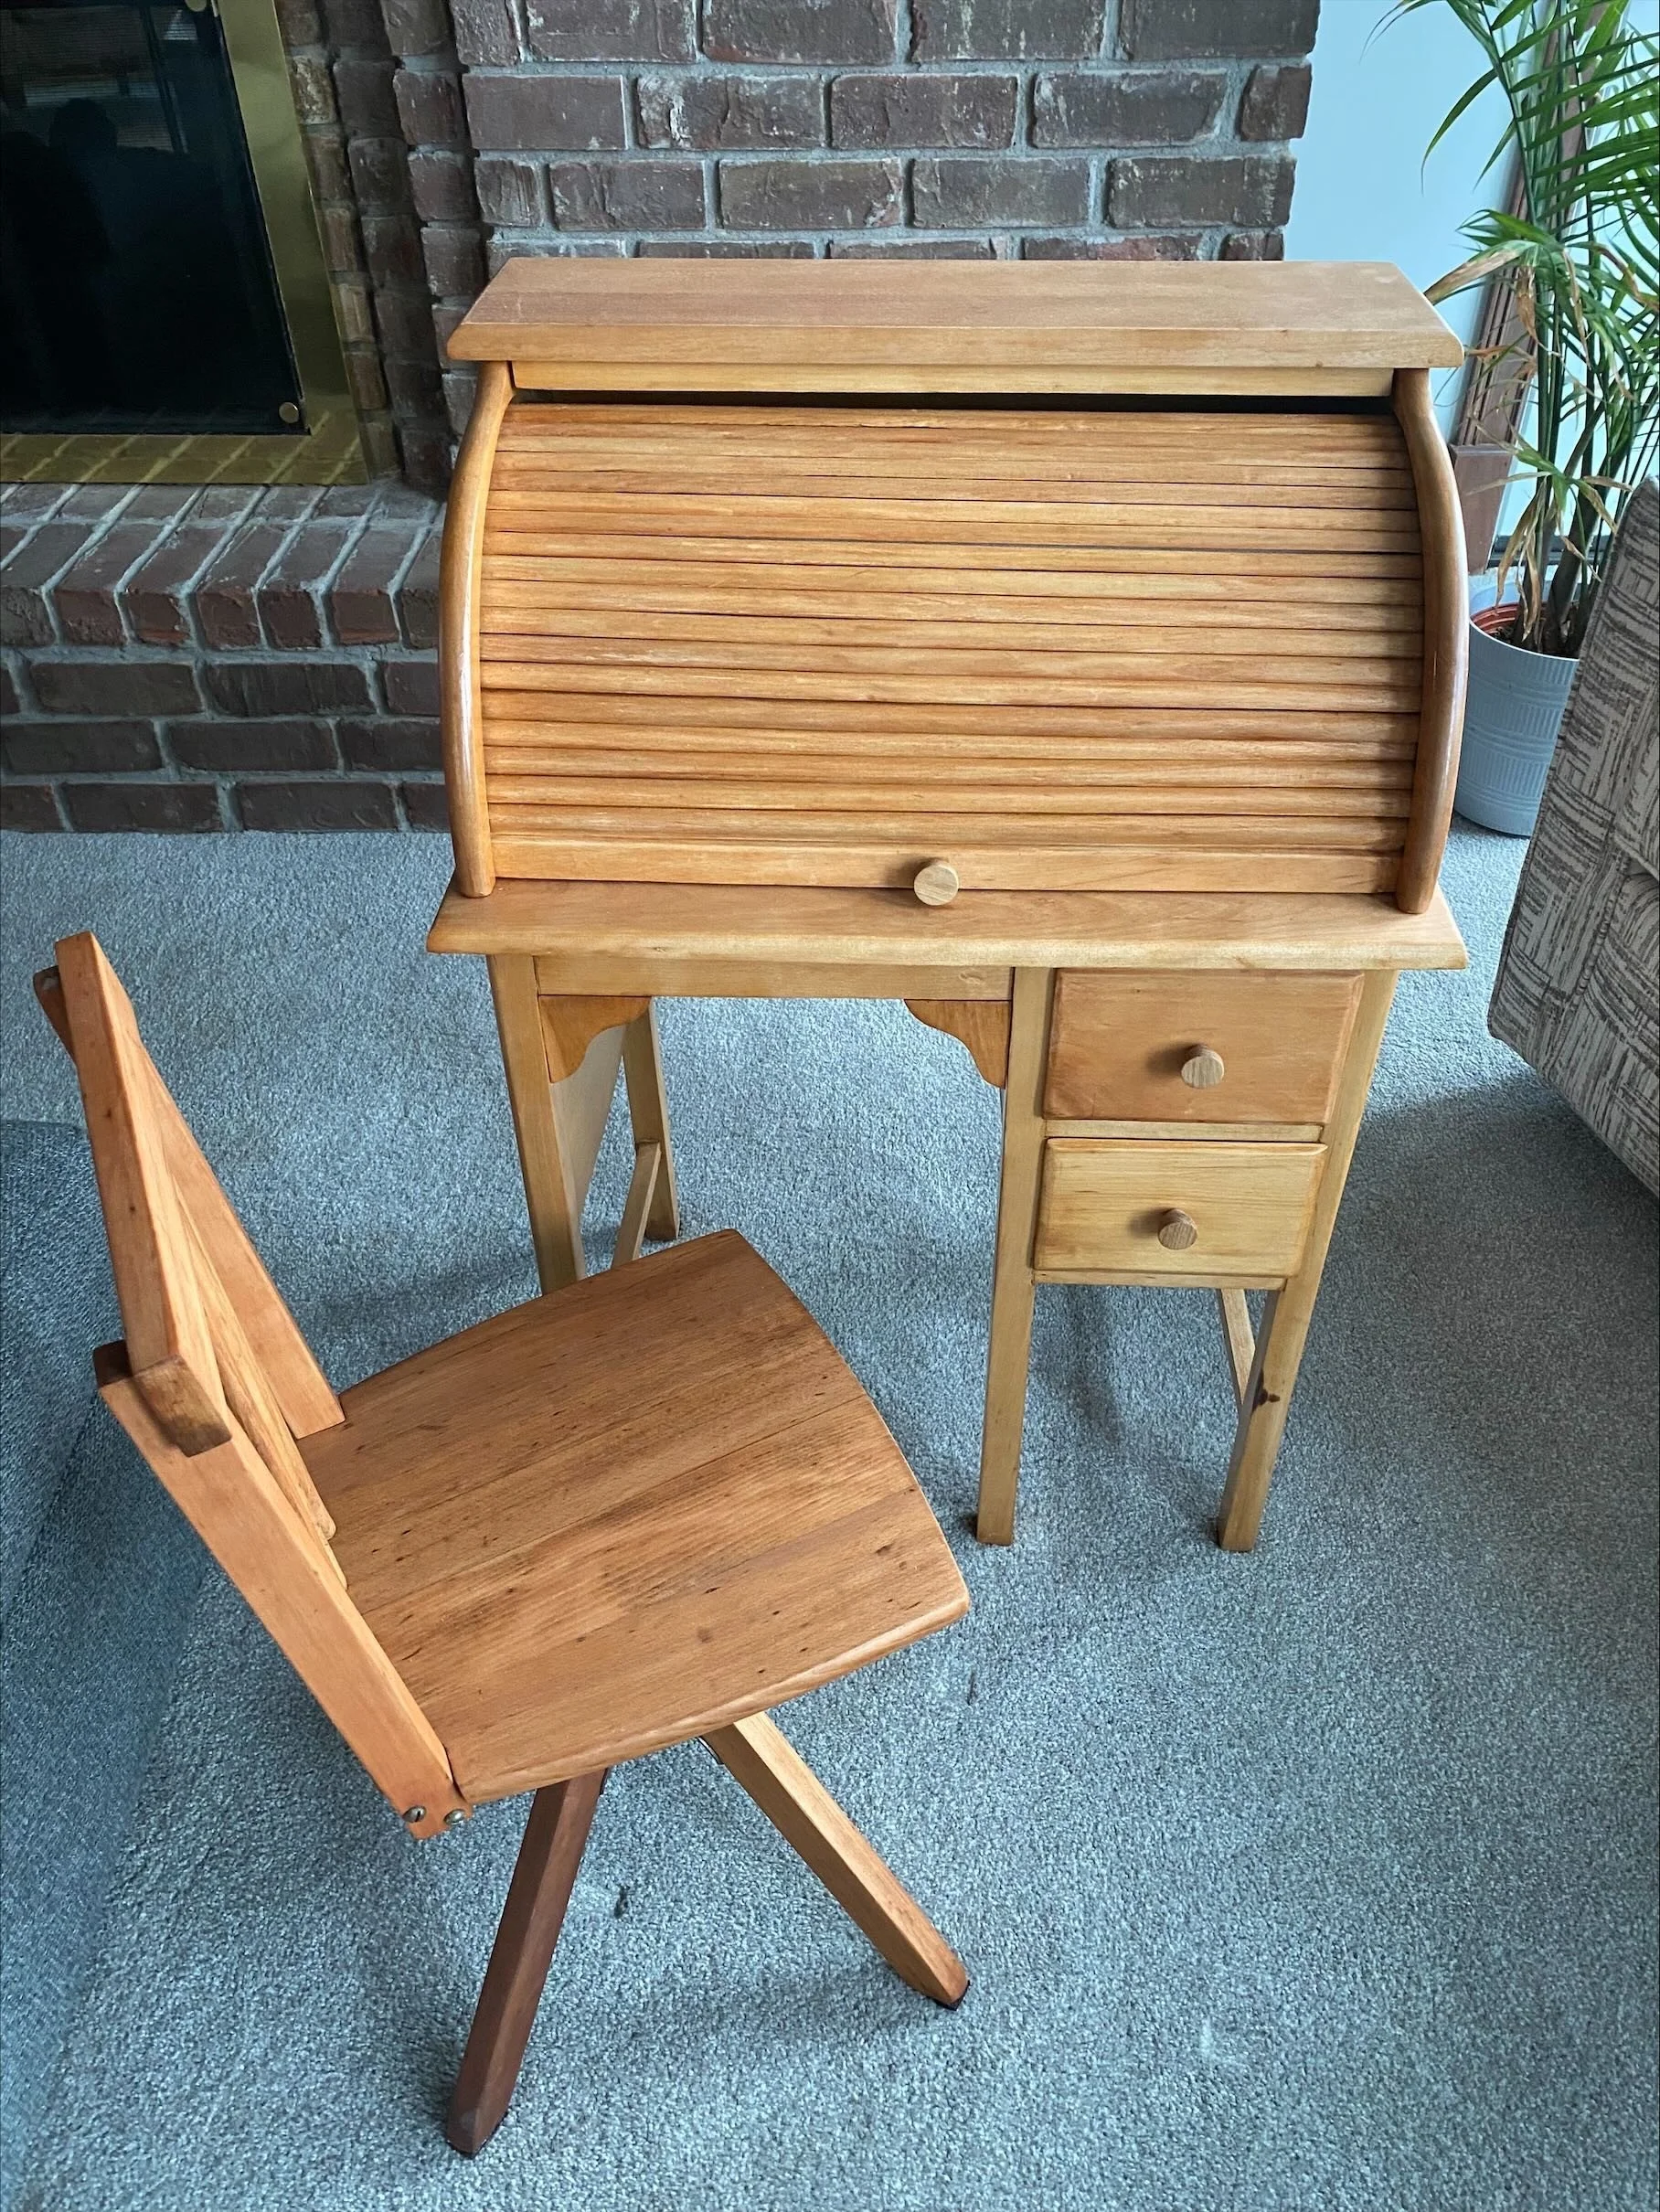
Child Roll-top Desk
Restoring the Roll-Top Desk
After completing the doll cabinet restoration, my wife suggested I take on another family piece: an old roll-top desk that belonged to my her when she was a child. The desk had been tucked away in our attic for years, gathering dust. Our kids had also used it, leaving their mark with an array of marker and crayon “artwork” (& stickers) across its surfaces.
The Refinishing Process
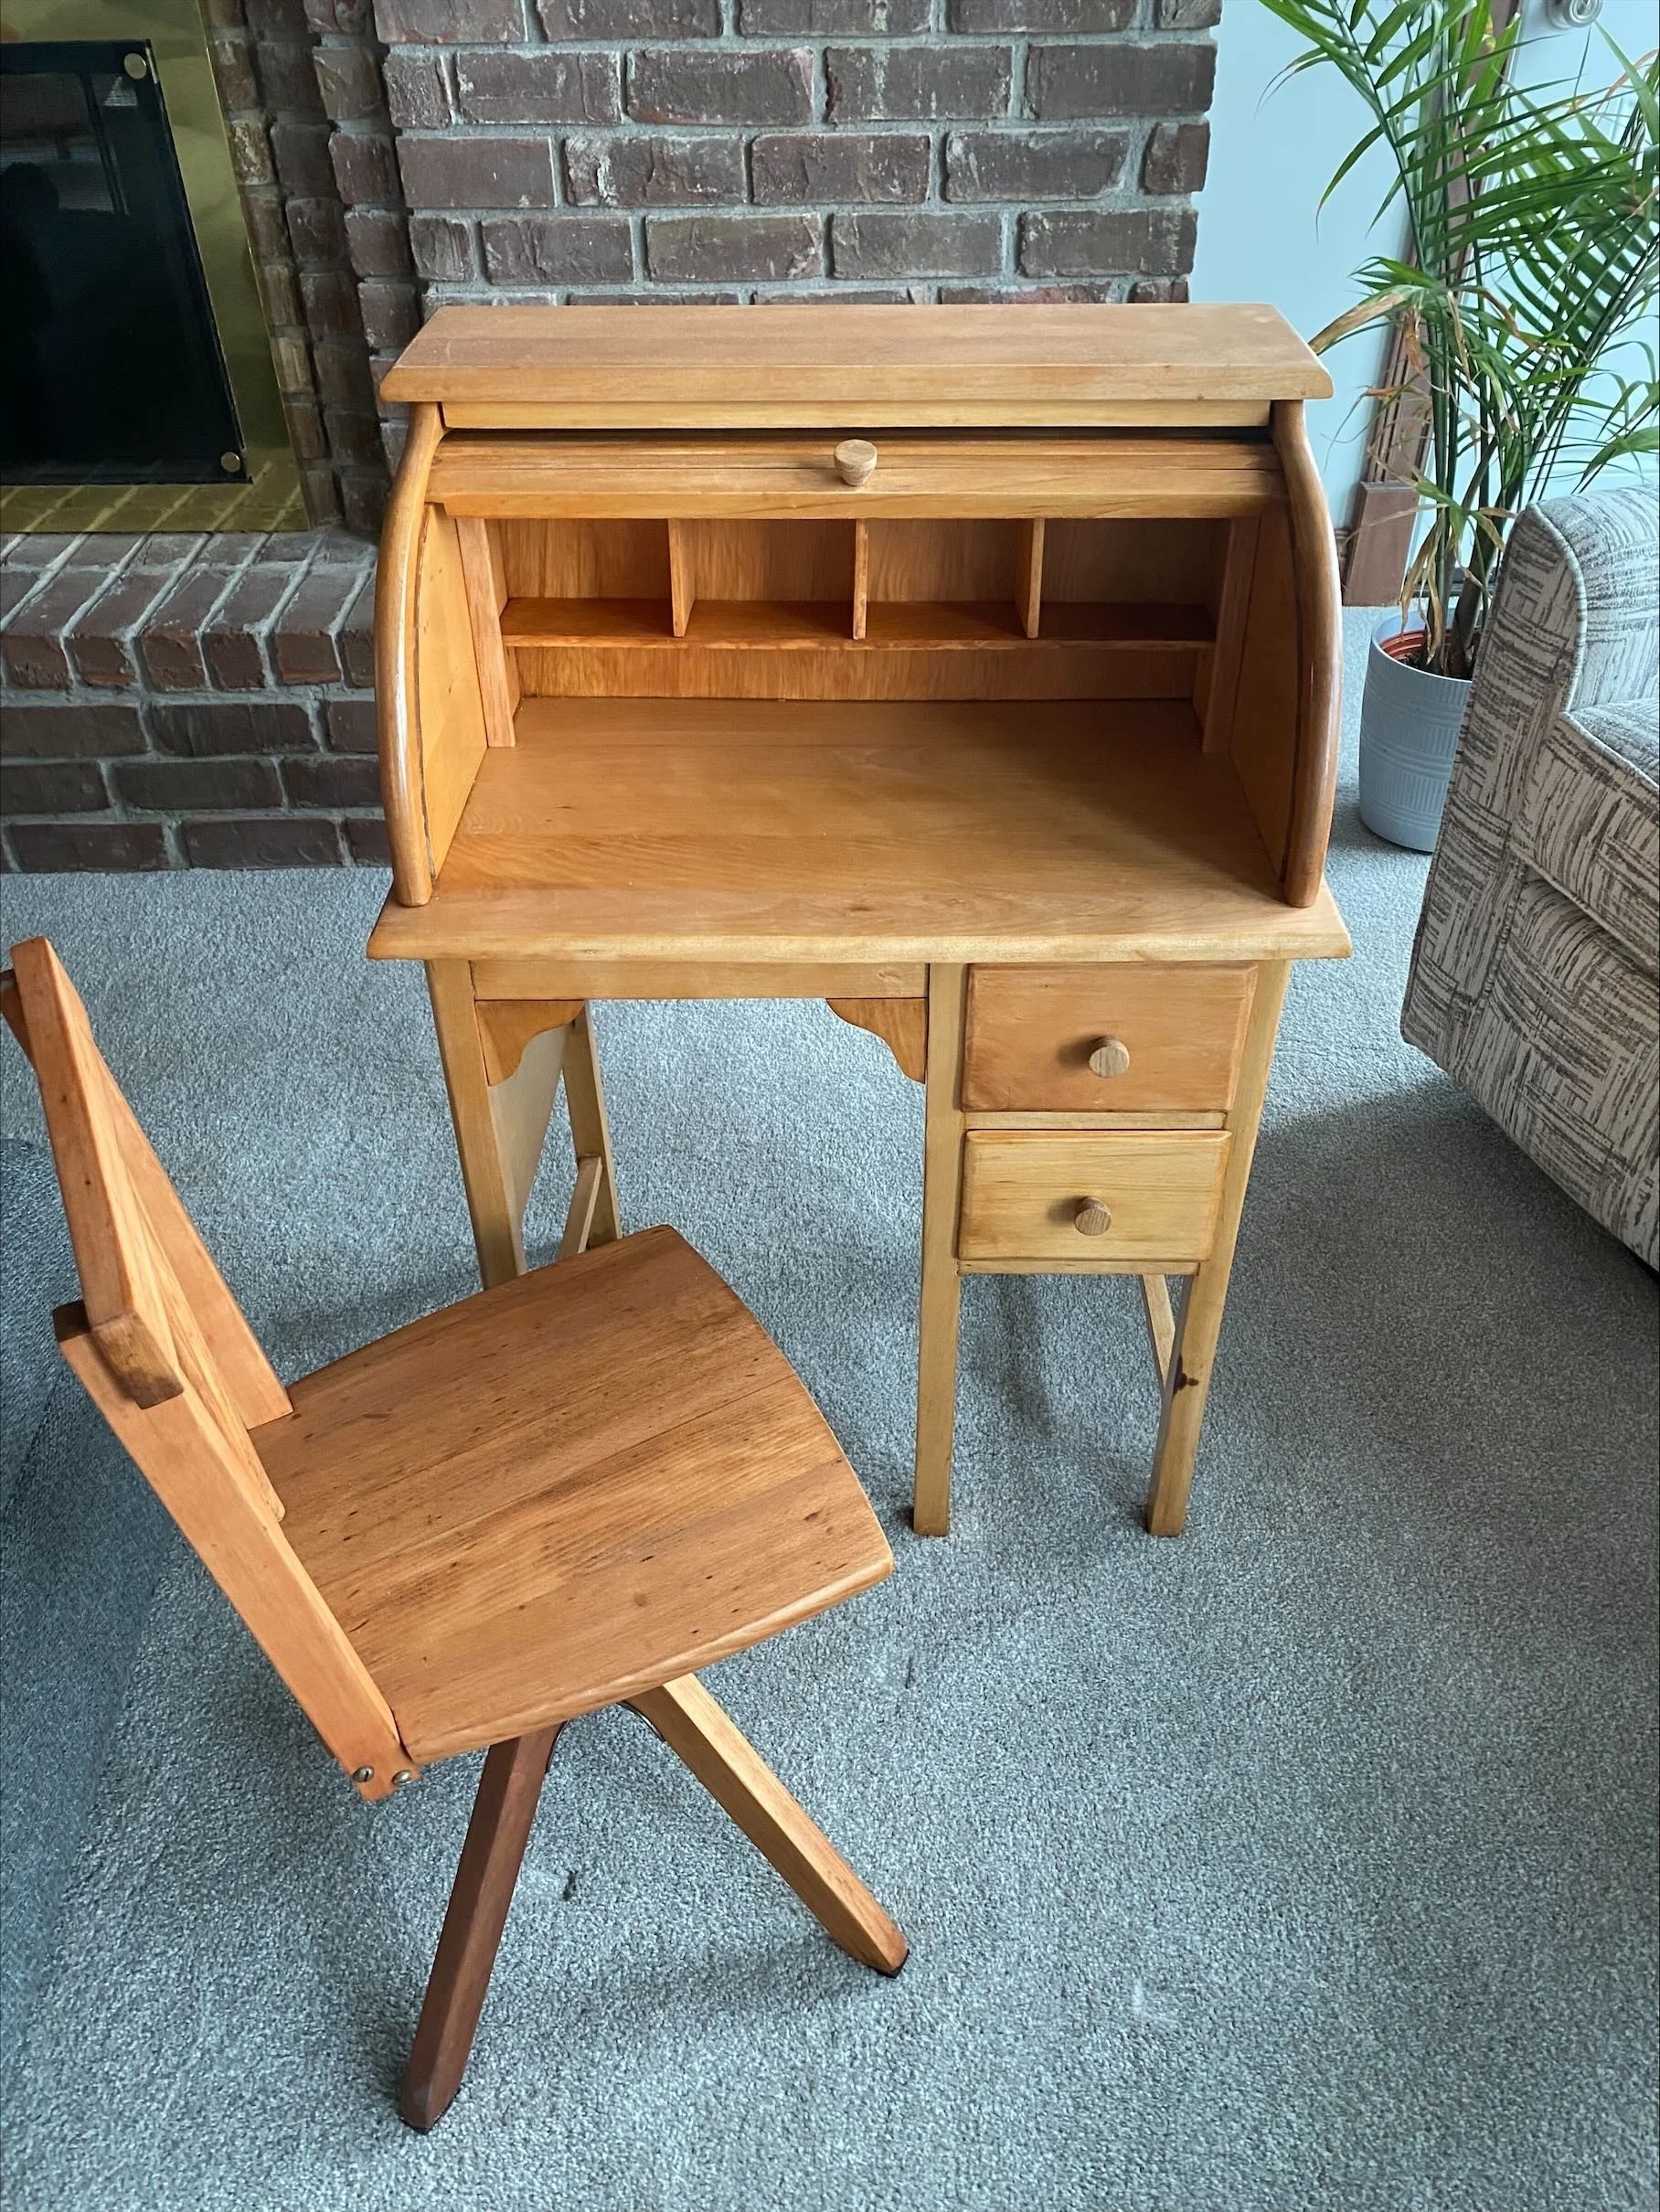
I brought the desk down and began dismantling it, quickly discovering a few treasures behind the shelves: a Minnie Mouse valentine, some paper clips, and a pencil, small reminders of its long history in our family. This project proved more complex than the cabinet, especially when it came to the roll-top tambour. Each slat had to be removed from the three tambour sections, stripped of paint, and carefully sanded by hand, all while keeping them in the correct order. After staining, I bought new tambour backing and used spray adhesive to reattach the slats, restoring the roll-top’s smooth function.
The desk itself was solidly built but needed some updates. I replaced a few shelves inside with new wood and added trim to freshen its look. The original handles for the roll-top and drawers had been lost or broken over the years, so I found small wooden knobs that fit the desk’s character and made it look as if it had always been there.
Reflections
One piece was still missing was the chair. We all remembered the original, a height-adjustable chair the kids loved to spin around on to raise and lower the seat. I managed to find a similar chair online, and though it arrived in rough shape, I was able to restore it as well. Now, the desk and chair are a complete set once again, ready for another generation. I look forward to the day my granddaughter sits there, adding her own chapter to this family story.

Before
After
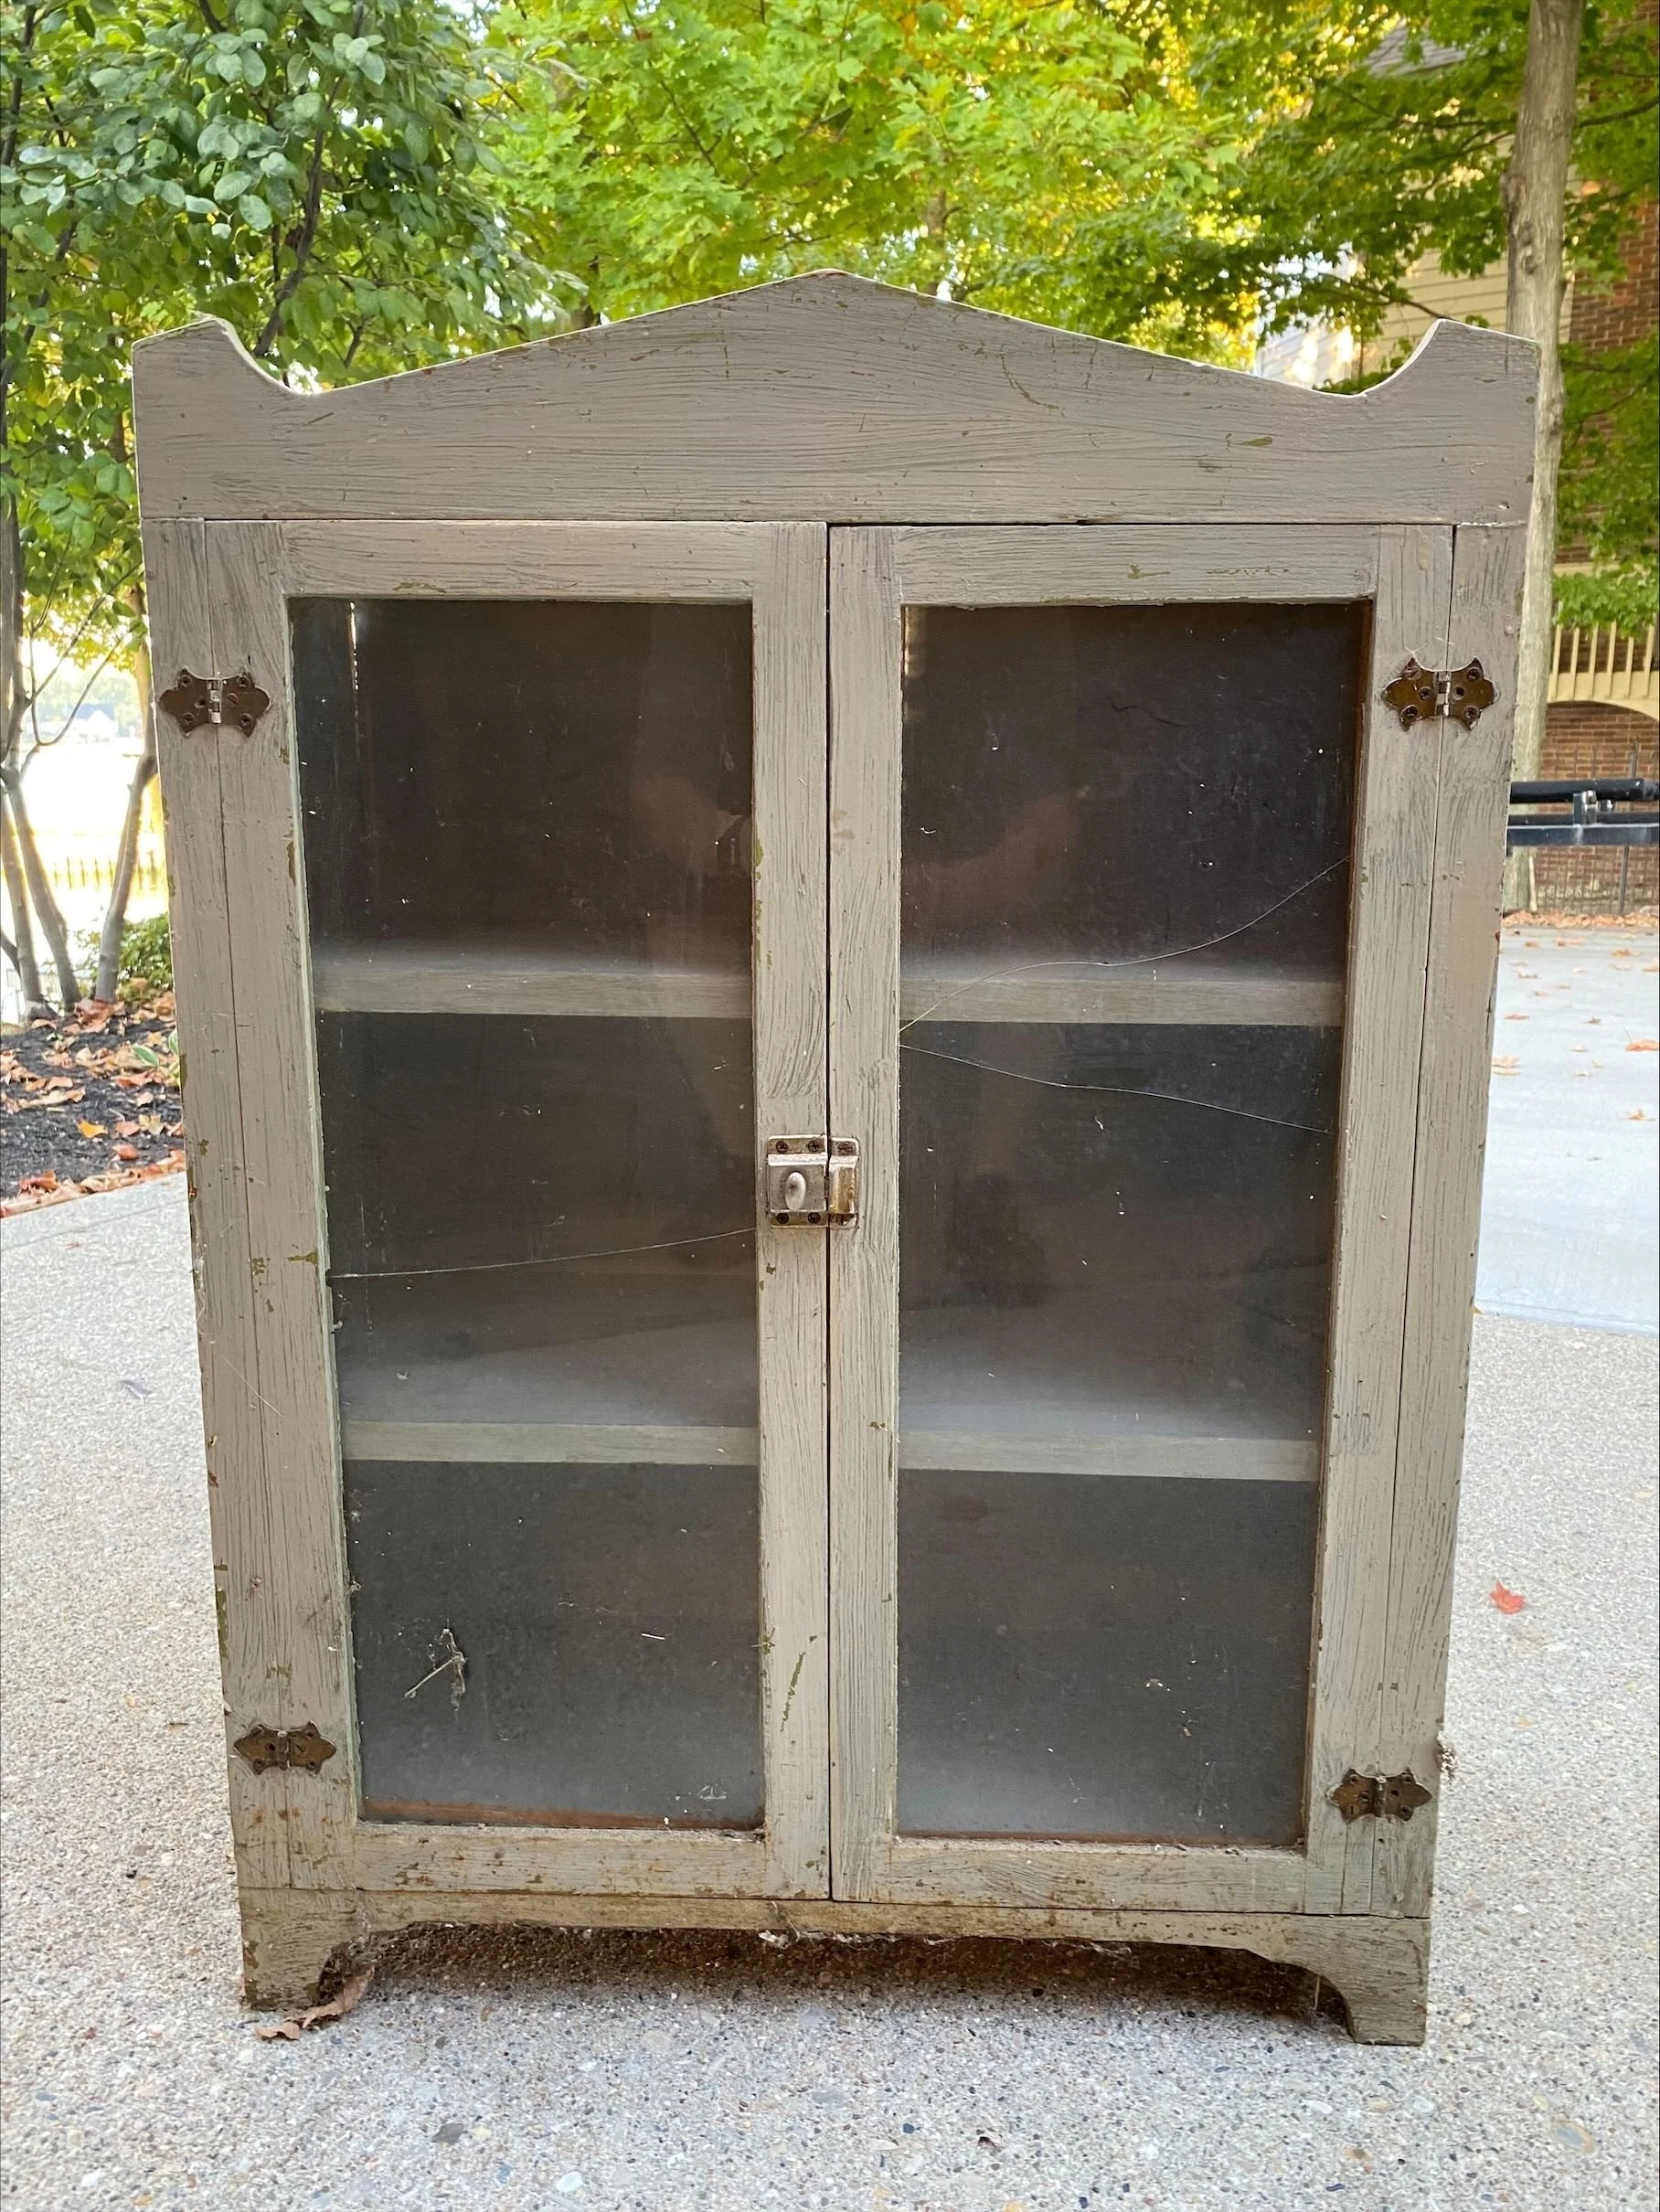
Antique Doll Cabinet
Reviving a Family Doll Cabinet
This antique doll cabinet holds a special place in our family’s story. It was originally handcrafted for my mother-in-law when she was twelve by a neighbor down the road, a farmer and woodworker. She used it to storeY her dolls and other keepsakes. It was handed down to my wife, who used to display her dolls and her little tea set. Over the years, we have kept it safe, hoping to restore it. My wife especially wanted to see it brought back to life. When I began searching for a hands-on hobby, this cabinet became my first project. As someone whose professional life revolves around building applications and Excel models on a computer, I was looking forward to work on something tangible and creative.
Refinishing Process
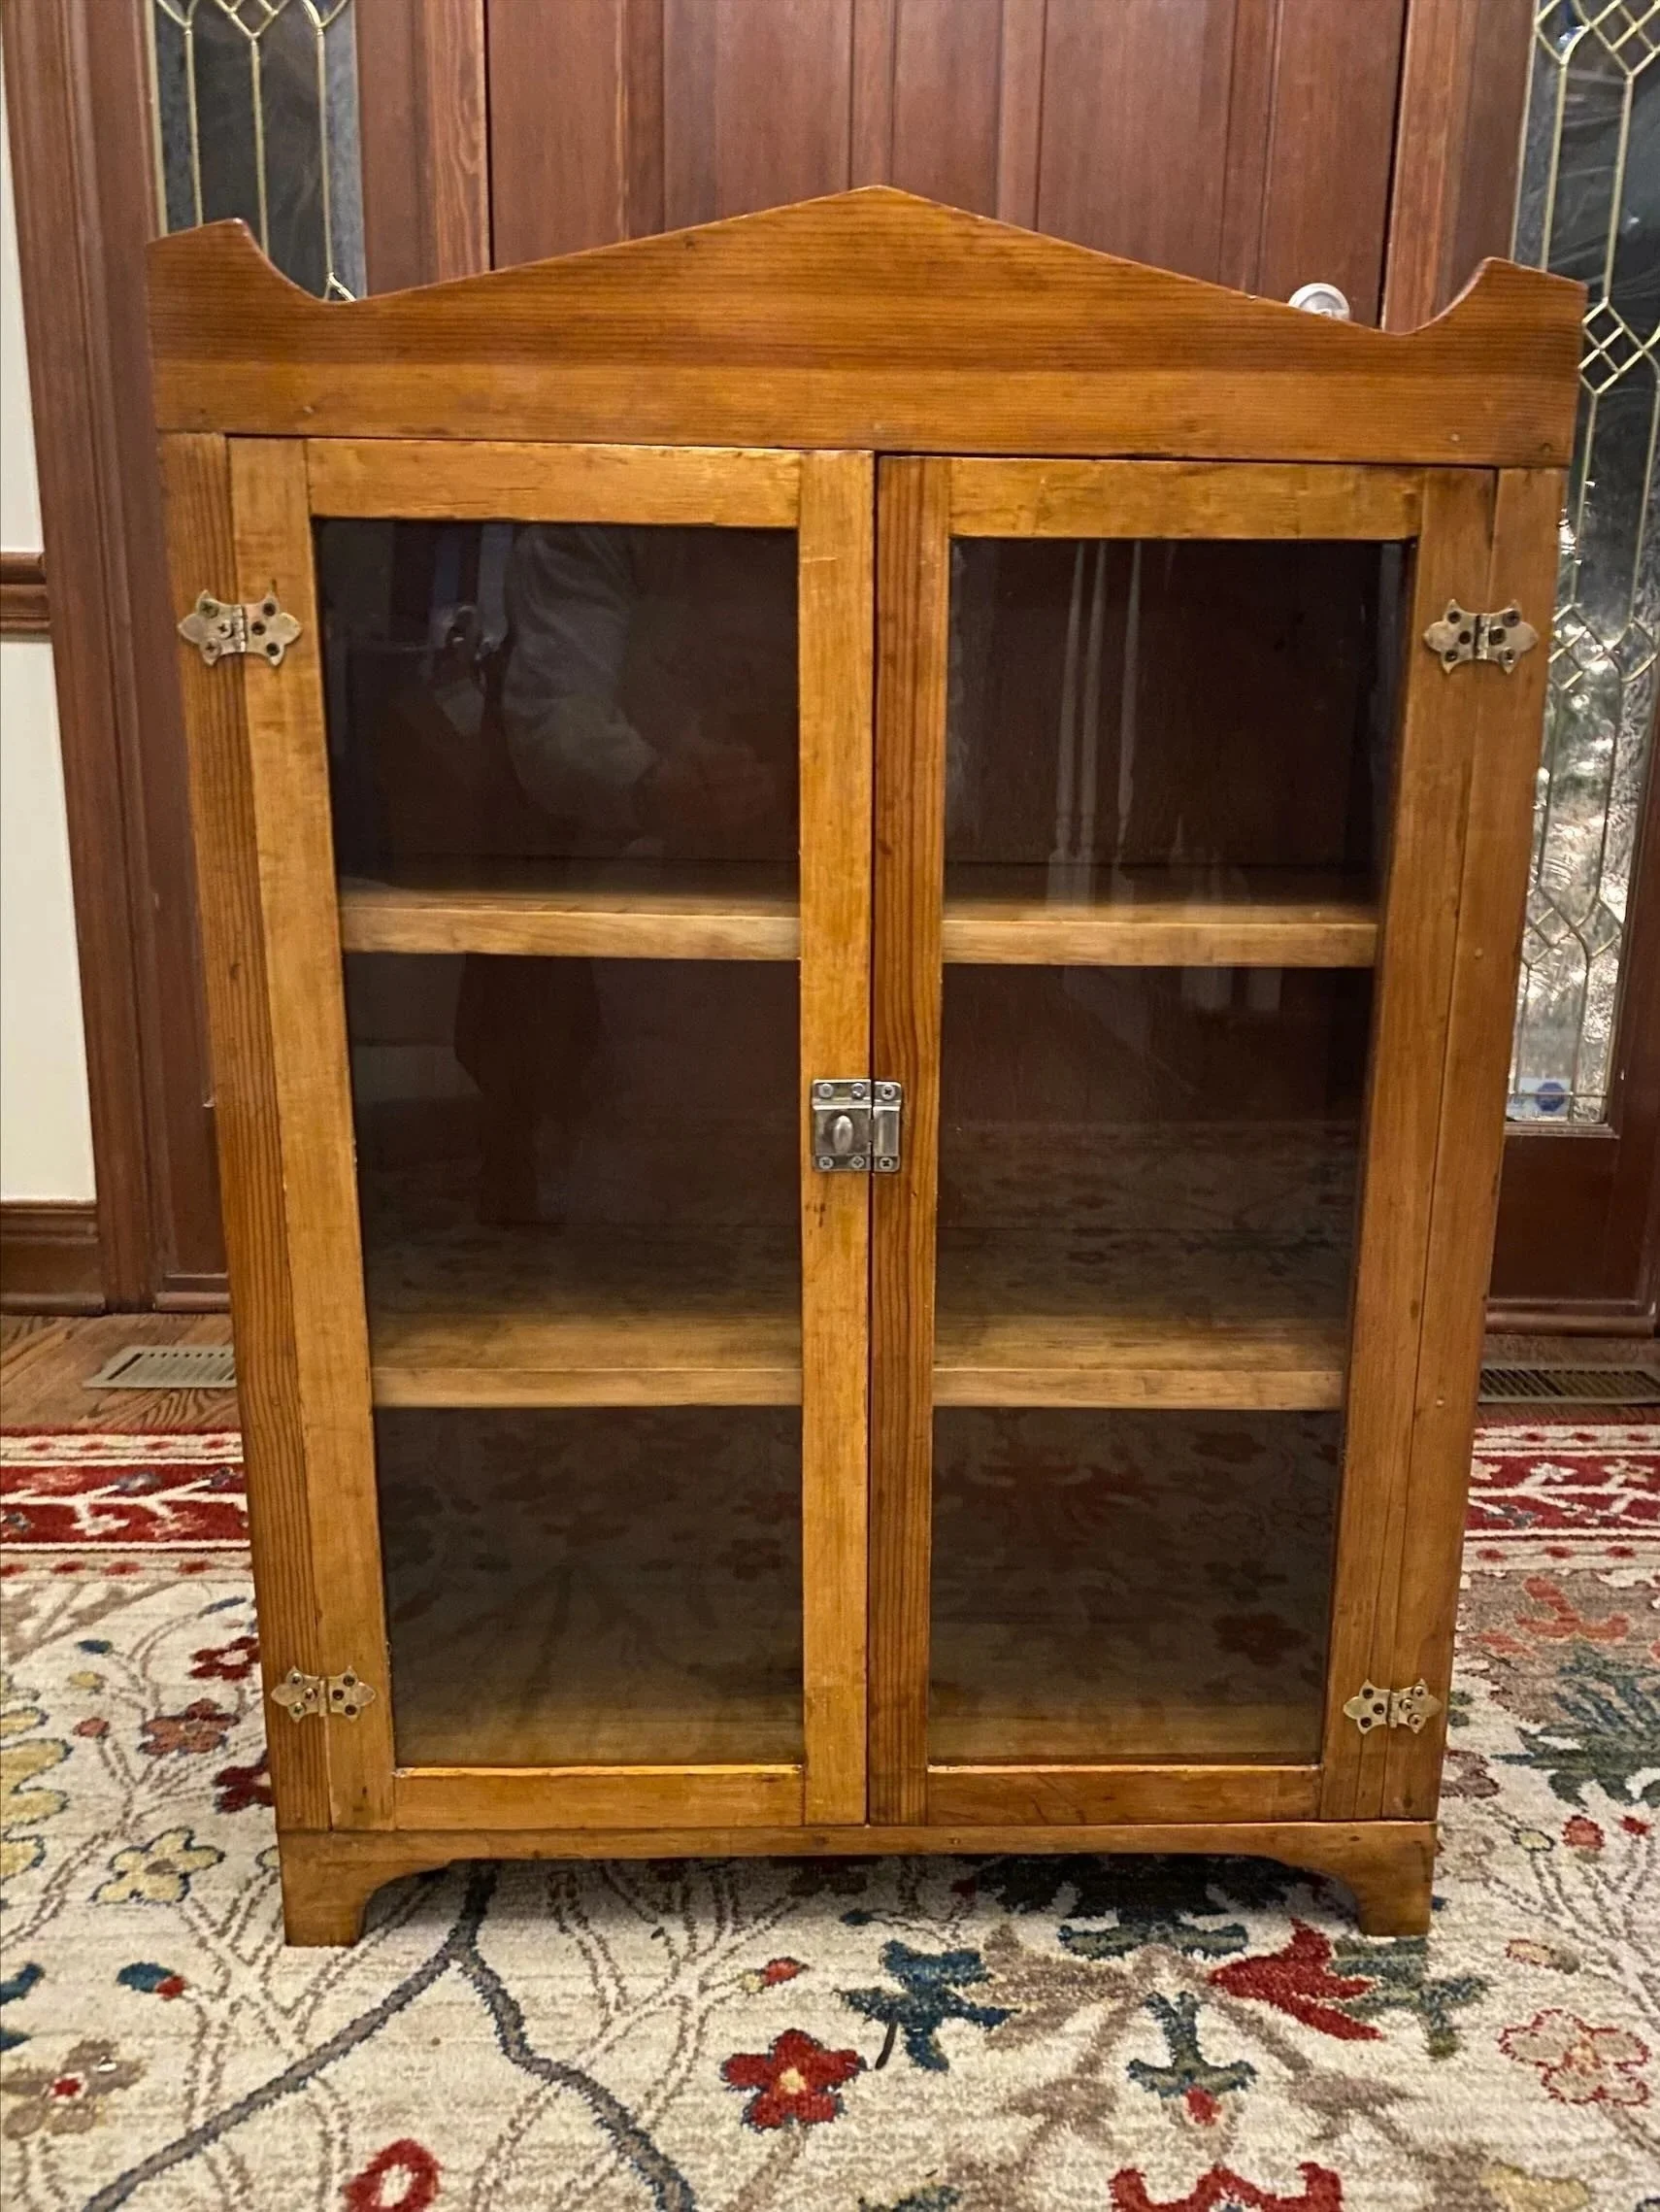
The restoration process began with dismantling the cabinet, removing the doors and hardware. I used paint thinner to strip away the top layer of green paint, only to discover a bluish layer beneath, and, under that, a layer of stain. Most of the cabinet is made from pine, and after scraping off the old finishes, I spent several hours sanding. I used a palm sander for the bulk of the work, but finished sanding by hand to ensure a smooth surface. The piece was well built and required only minor repairs before I applied two coats of stain and a polyurethane finish.
For the doors, I replaced both panes of glass with new, shatter-resistant panels. I also cleaned and polished all the original hardware, which I was pleased to reuse entirely.
Reflections
One piece was still missing was the chair. We all remembered the original, a height-adjustable chair the kids loved to spin around on to raise and lower the seat. I managed to find a similar chair online, and though it arrived in rough shape, I was able to restore it as well. Now, the desk and chair are a complete set once again, ready for another generation. I look forward to the day my granddaughter sits there, adding her own chapter to this family story.

indoor Projects
Before
After
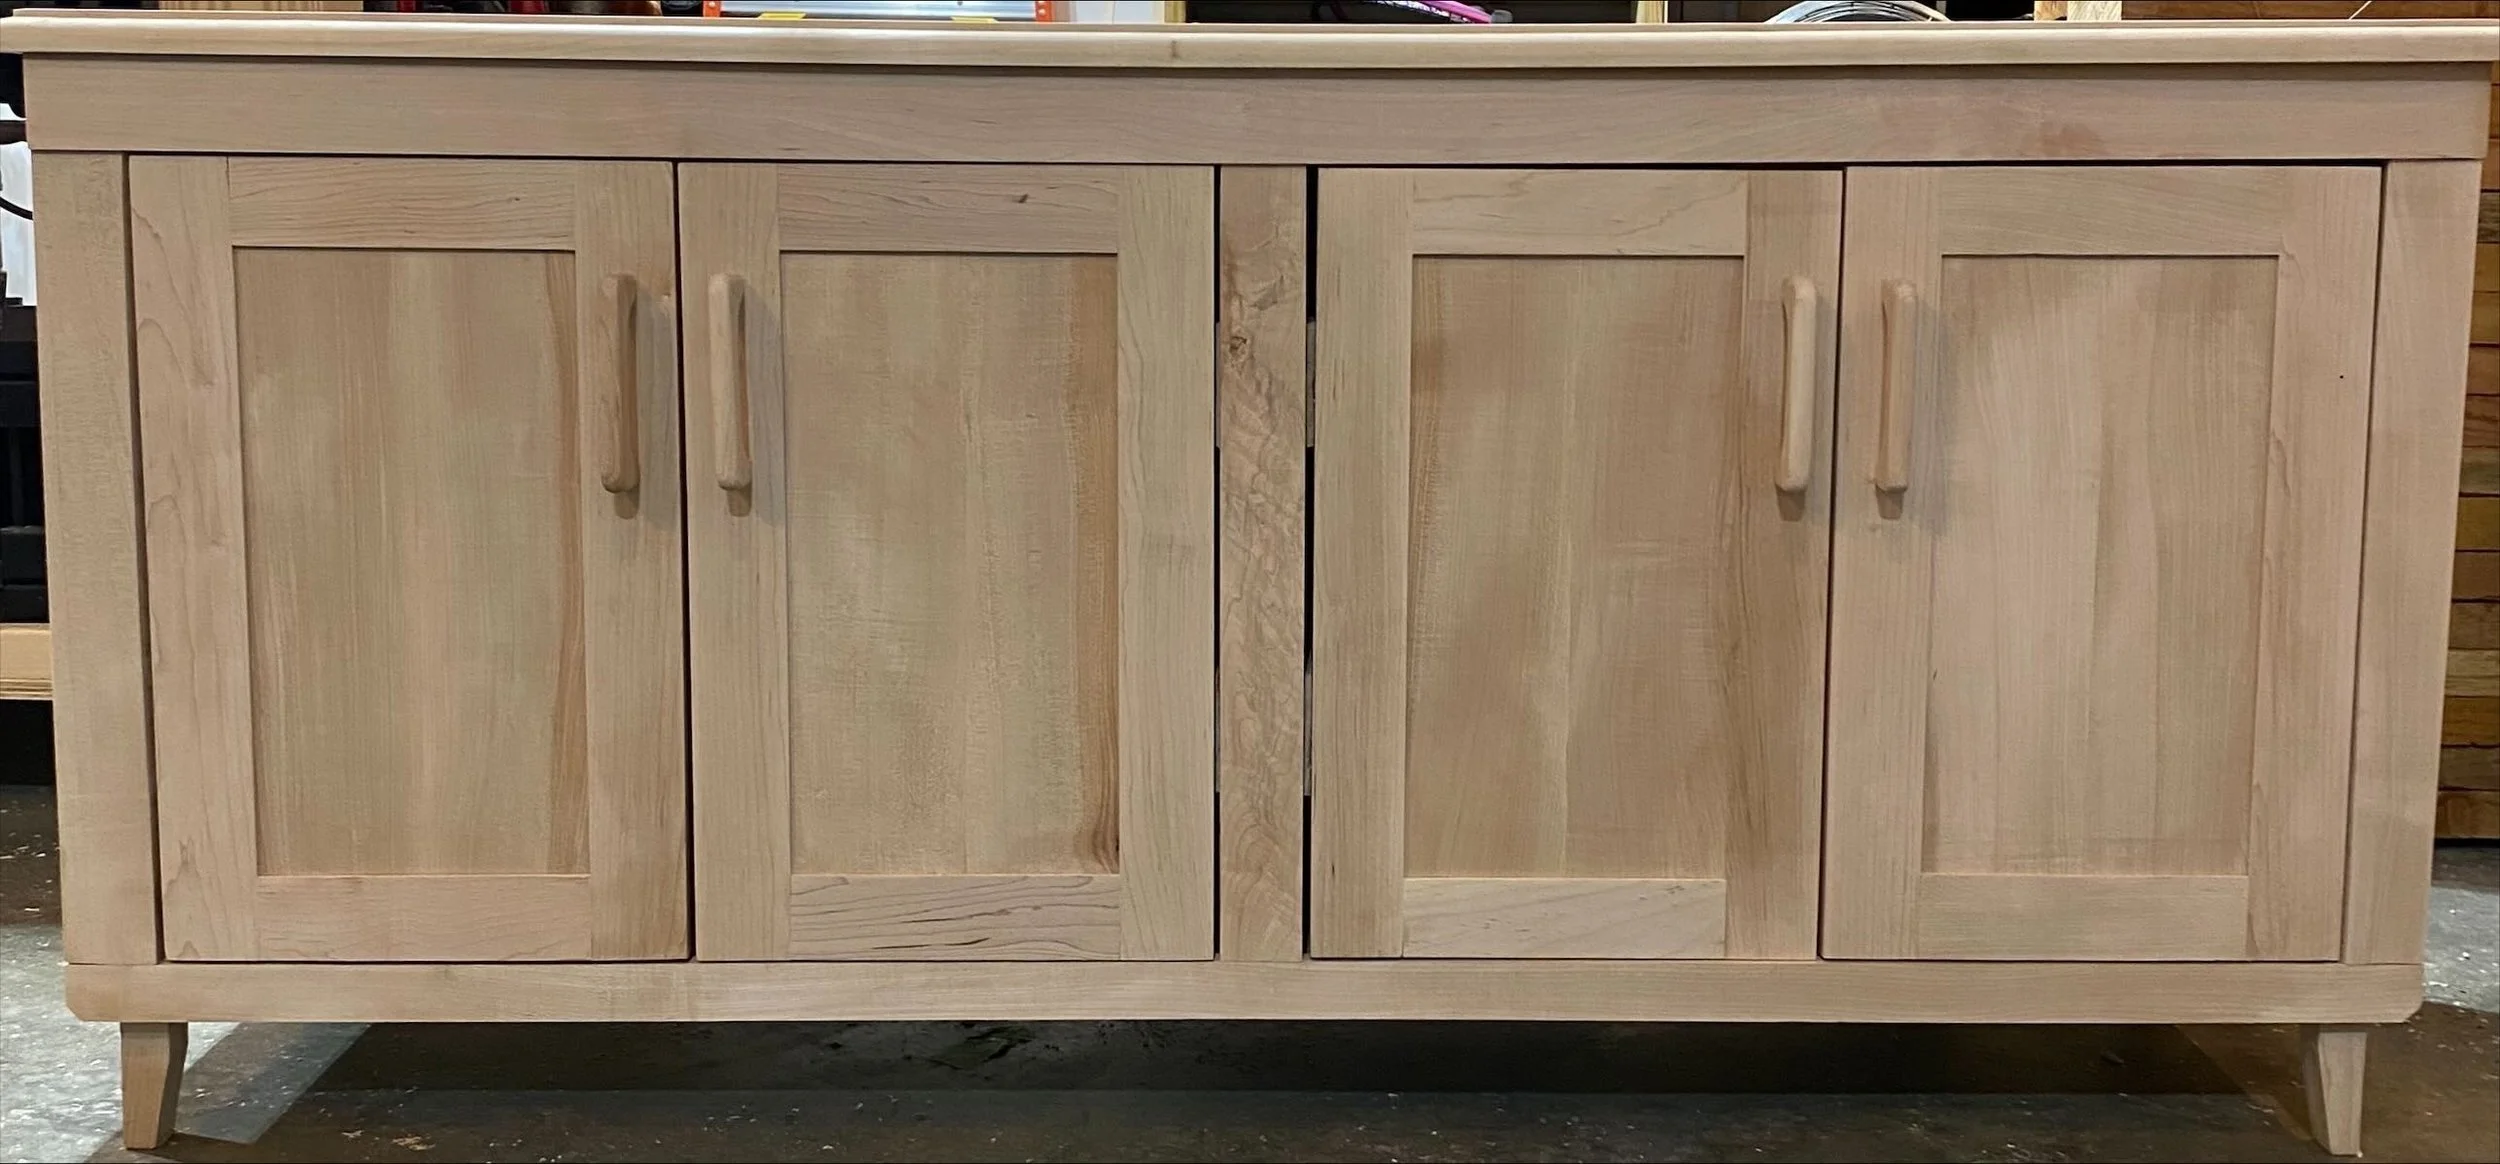
TV Stand
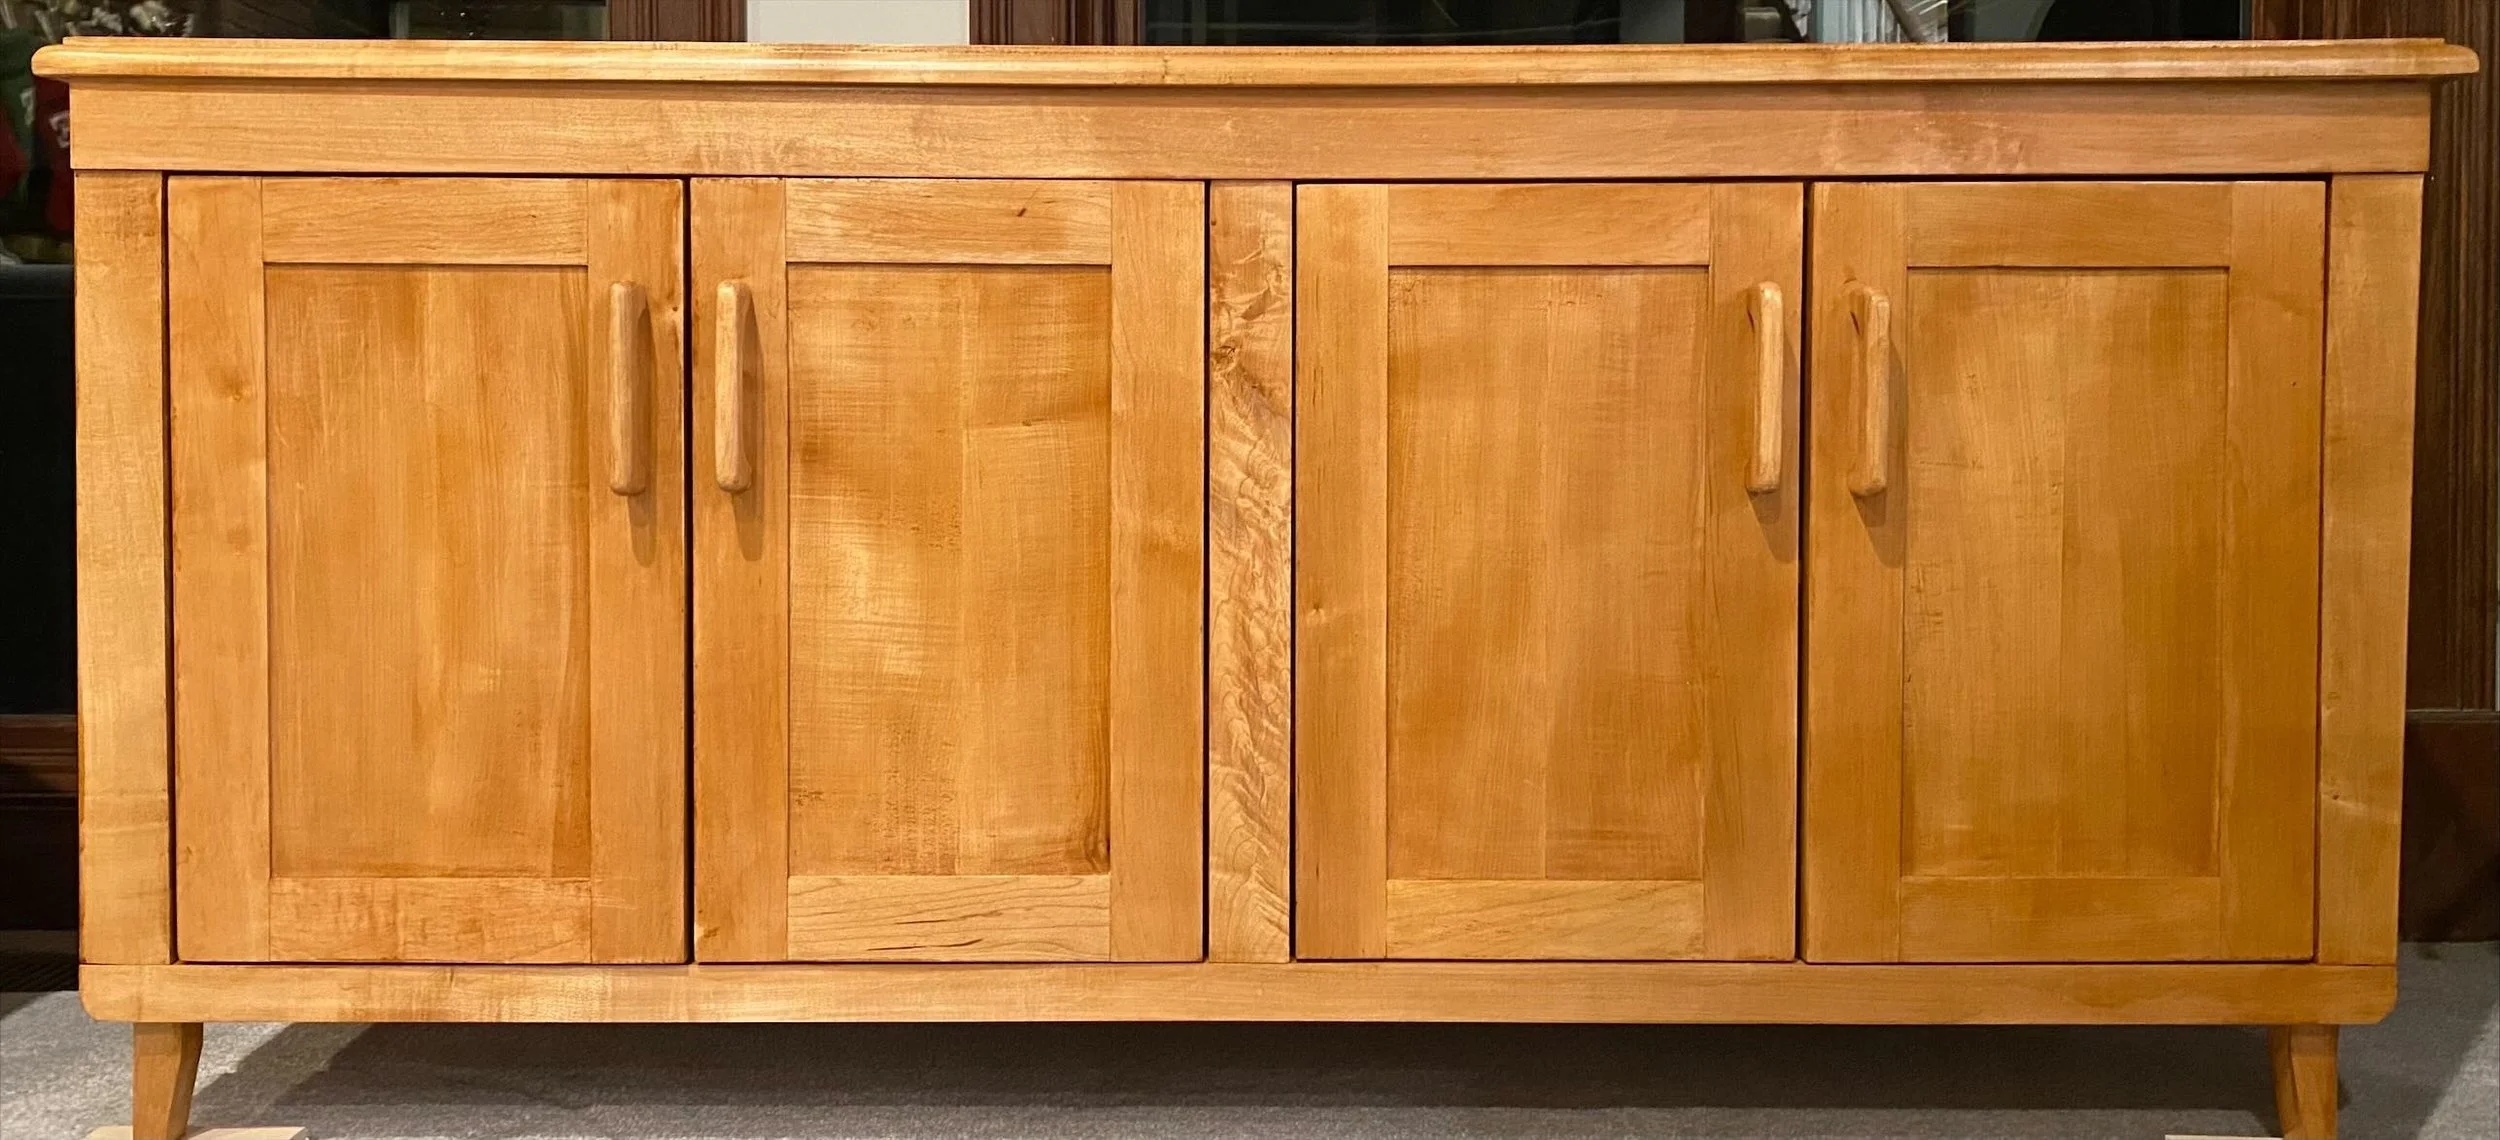
Building a TV Stand - My Largest Project Yet
Wanting to transform a sitting room off the kitchen into a more social and entertainment-friendly space, I set out to build a TV stand perfectly tailored for the job. This was by far the largest woodworking project I’d attempted: the stand needed to be 32 inches tall, 18 inches deep, and a full 62 inches wide, designed to anchor the room for family gatherings and game days.
Design and Material Selection
I wanted a piece that was both functional and attractive, so I chose quartersawn Sugar Maple for its striking grain and almost knot-free appearance. Drawing inspiration from both Amish and Shaker styles, I settled on clean lines, subtle details, and some handcrafted touches.
The design called for four front doors (to keep components and clutter tucked away), a central divider for structure, and fixed shelves within each cabinet.
Construction Details
Panel Construction: Joining boards for the top and bottom was a new challenge. I used my new biscuit joiner to create solid, seamless joints. Careful planing and edge preparation ensured tight, nearly invisible seams.
Legs: Each leg was crafted by gluing two pieces of maple together to achieve a sturdy 2.5" square dimension. I carefully planed each leg for a smooth finish and tapered them starting 3 inches from the bottom for a refined look.
Rounded Edges: A trim router with a roundover bit gave the top its softened, elegant edge.
Dividers and Shelves: I included a central divider for extra support and storage separation, featuring a special piece of Birdseye Maple as a visual highlight. Fixed shelves inside provide ample storage for electronics and media.
Joinery and Hardware: True to my inspiration, I minimized visible hardware—opting for wooden handles crafted by hand and using hinges as the only visible metal. However, I learned a key lesson: next time, I’ll source and size all hardware (like door hinges) before building the door frames to avoid late adjustments.
The entire cabinet received a Minwax Pecan finish that warmed the naturally light maple, then a coating of Minwax Caruba wax for lasting protection and a soft sheen. The finished stand is sturdy, spacious, and complements our living space, ready for years of family movie nights, sports viewing, and gatherings.
Reflections
This project was a leap in size, complexity, and skill for me by combining large panel glue-ups, careful edge work, and fine joinery. Exploring quartersawn maple (and some Birdseye Maple) accents brought the design to life, while each step reinforced the value of careful planning, especially around hardware choices. Seeing the finished stand in our gathering space, I feel good not just of the workmanship, but the way it brings family and friends together.

Working with quartersawn white oak offered a rewarding challenge, but it was the aromatic cedar that truly elevated the piece, infusing it with warmth, character, and a subtle, natural scent. Exploring miter joints and dadoes expanded my joinery skills, and the result is more than just functional—it’s a small celebration of craftsmanship that brings joy every time it’s used.
Key Cabinet
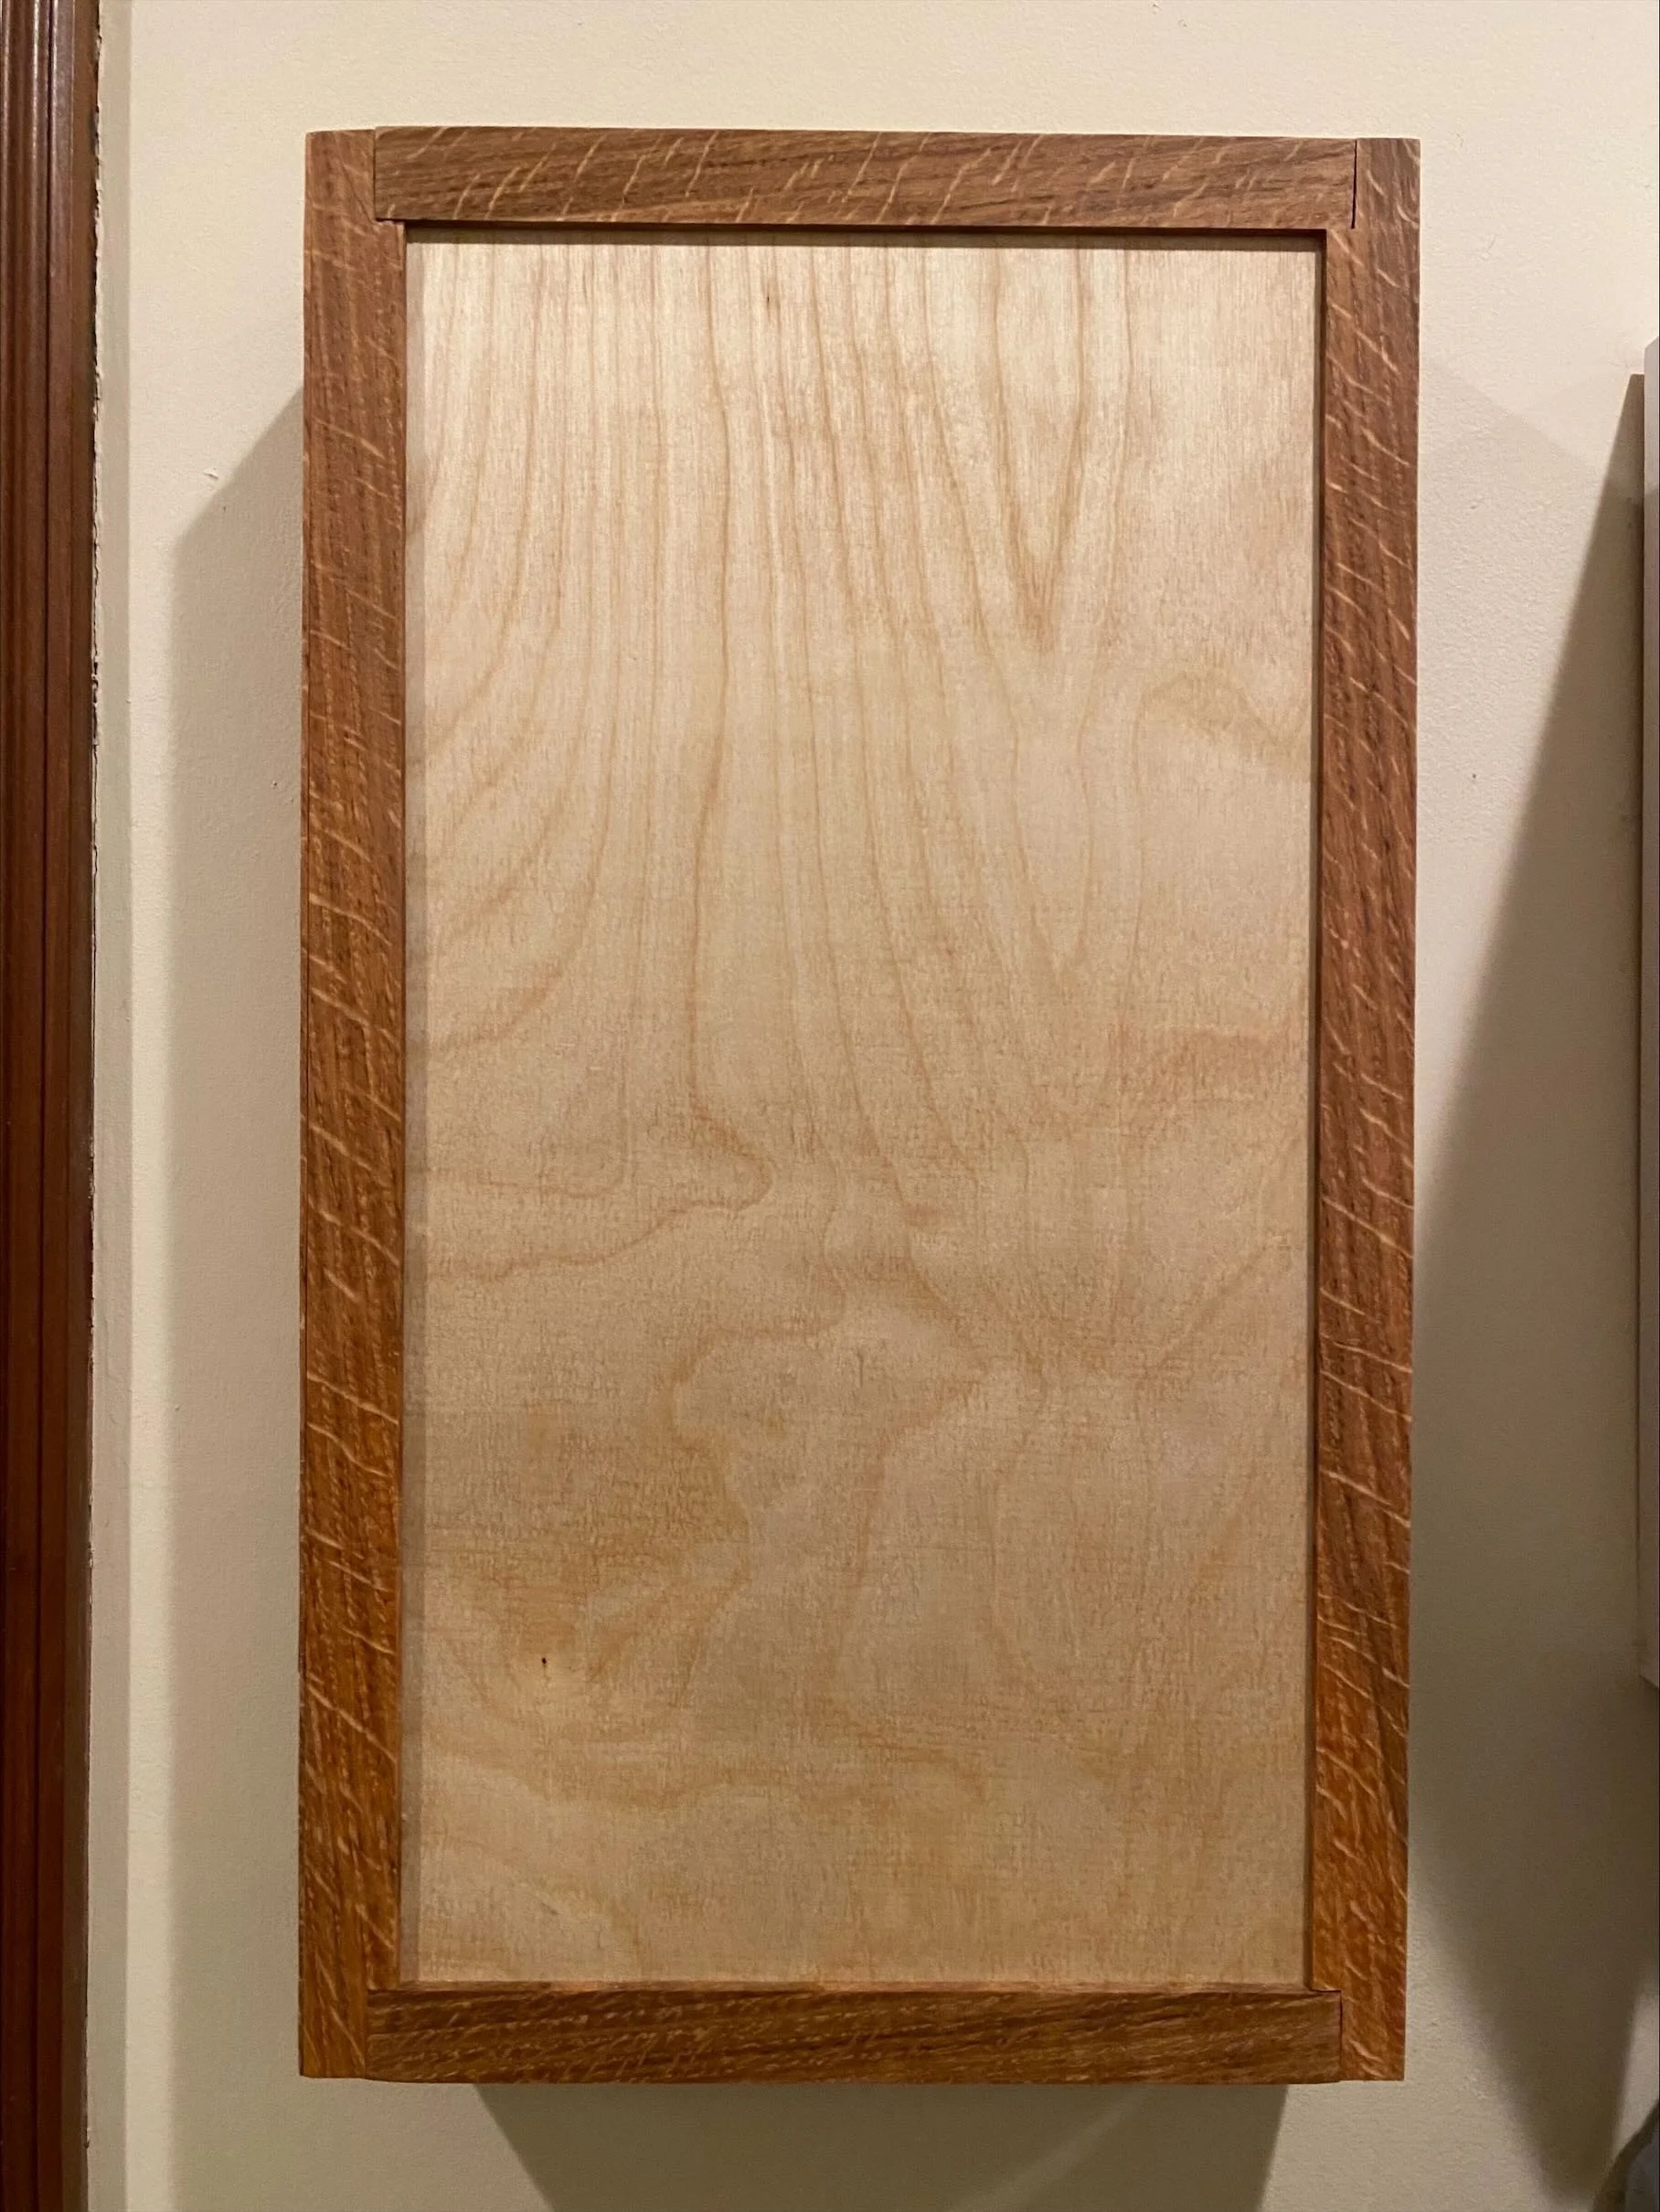
Building a Key Cabinet
After realizing our entryway key box was much too small for the jumble of keys and hefty keychains our family used, I decided to build a larger, more practical key cabinet.
Design & Material Selection
This project provided the perfect opportunity to experiment with quartersawn oak boards that a friend generously offered from his shed.
I began by envisioning a cabinet with enough room for all our keys, including those attached to bulky rings. The plan was:
Wall-mounted design for convenient access in the entryway.
Greater capacity than our old key box.
Customization for our household’s needs.
The design process started with a few rough sketches to finalize overall measurements. I knew I wanted a simple, elegant look that would be easy to build while maximizing storage.
Construction Details
The rough-cut oak boards needed some attention. Using my friend’s planer, I milled the boards to a consistent thickness, which brought out the signature ray flecks and patterning unique to quartersawn white oak. It really is a a beautiful material to work with.
I measured and cut the frame pieces to length and width, then joined them with miter joints for clean, sharp corners. To house the cabinet’s back panel, I routed a dado about 1/2 inch from the rear edge, allowing me to slide in a 1/4 inch panel for sturdy support.
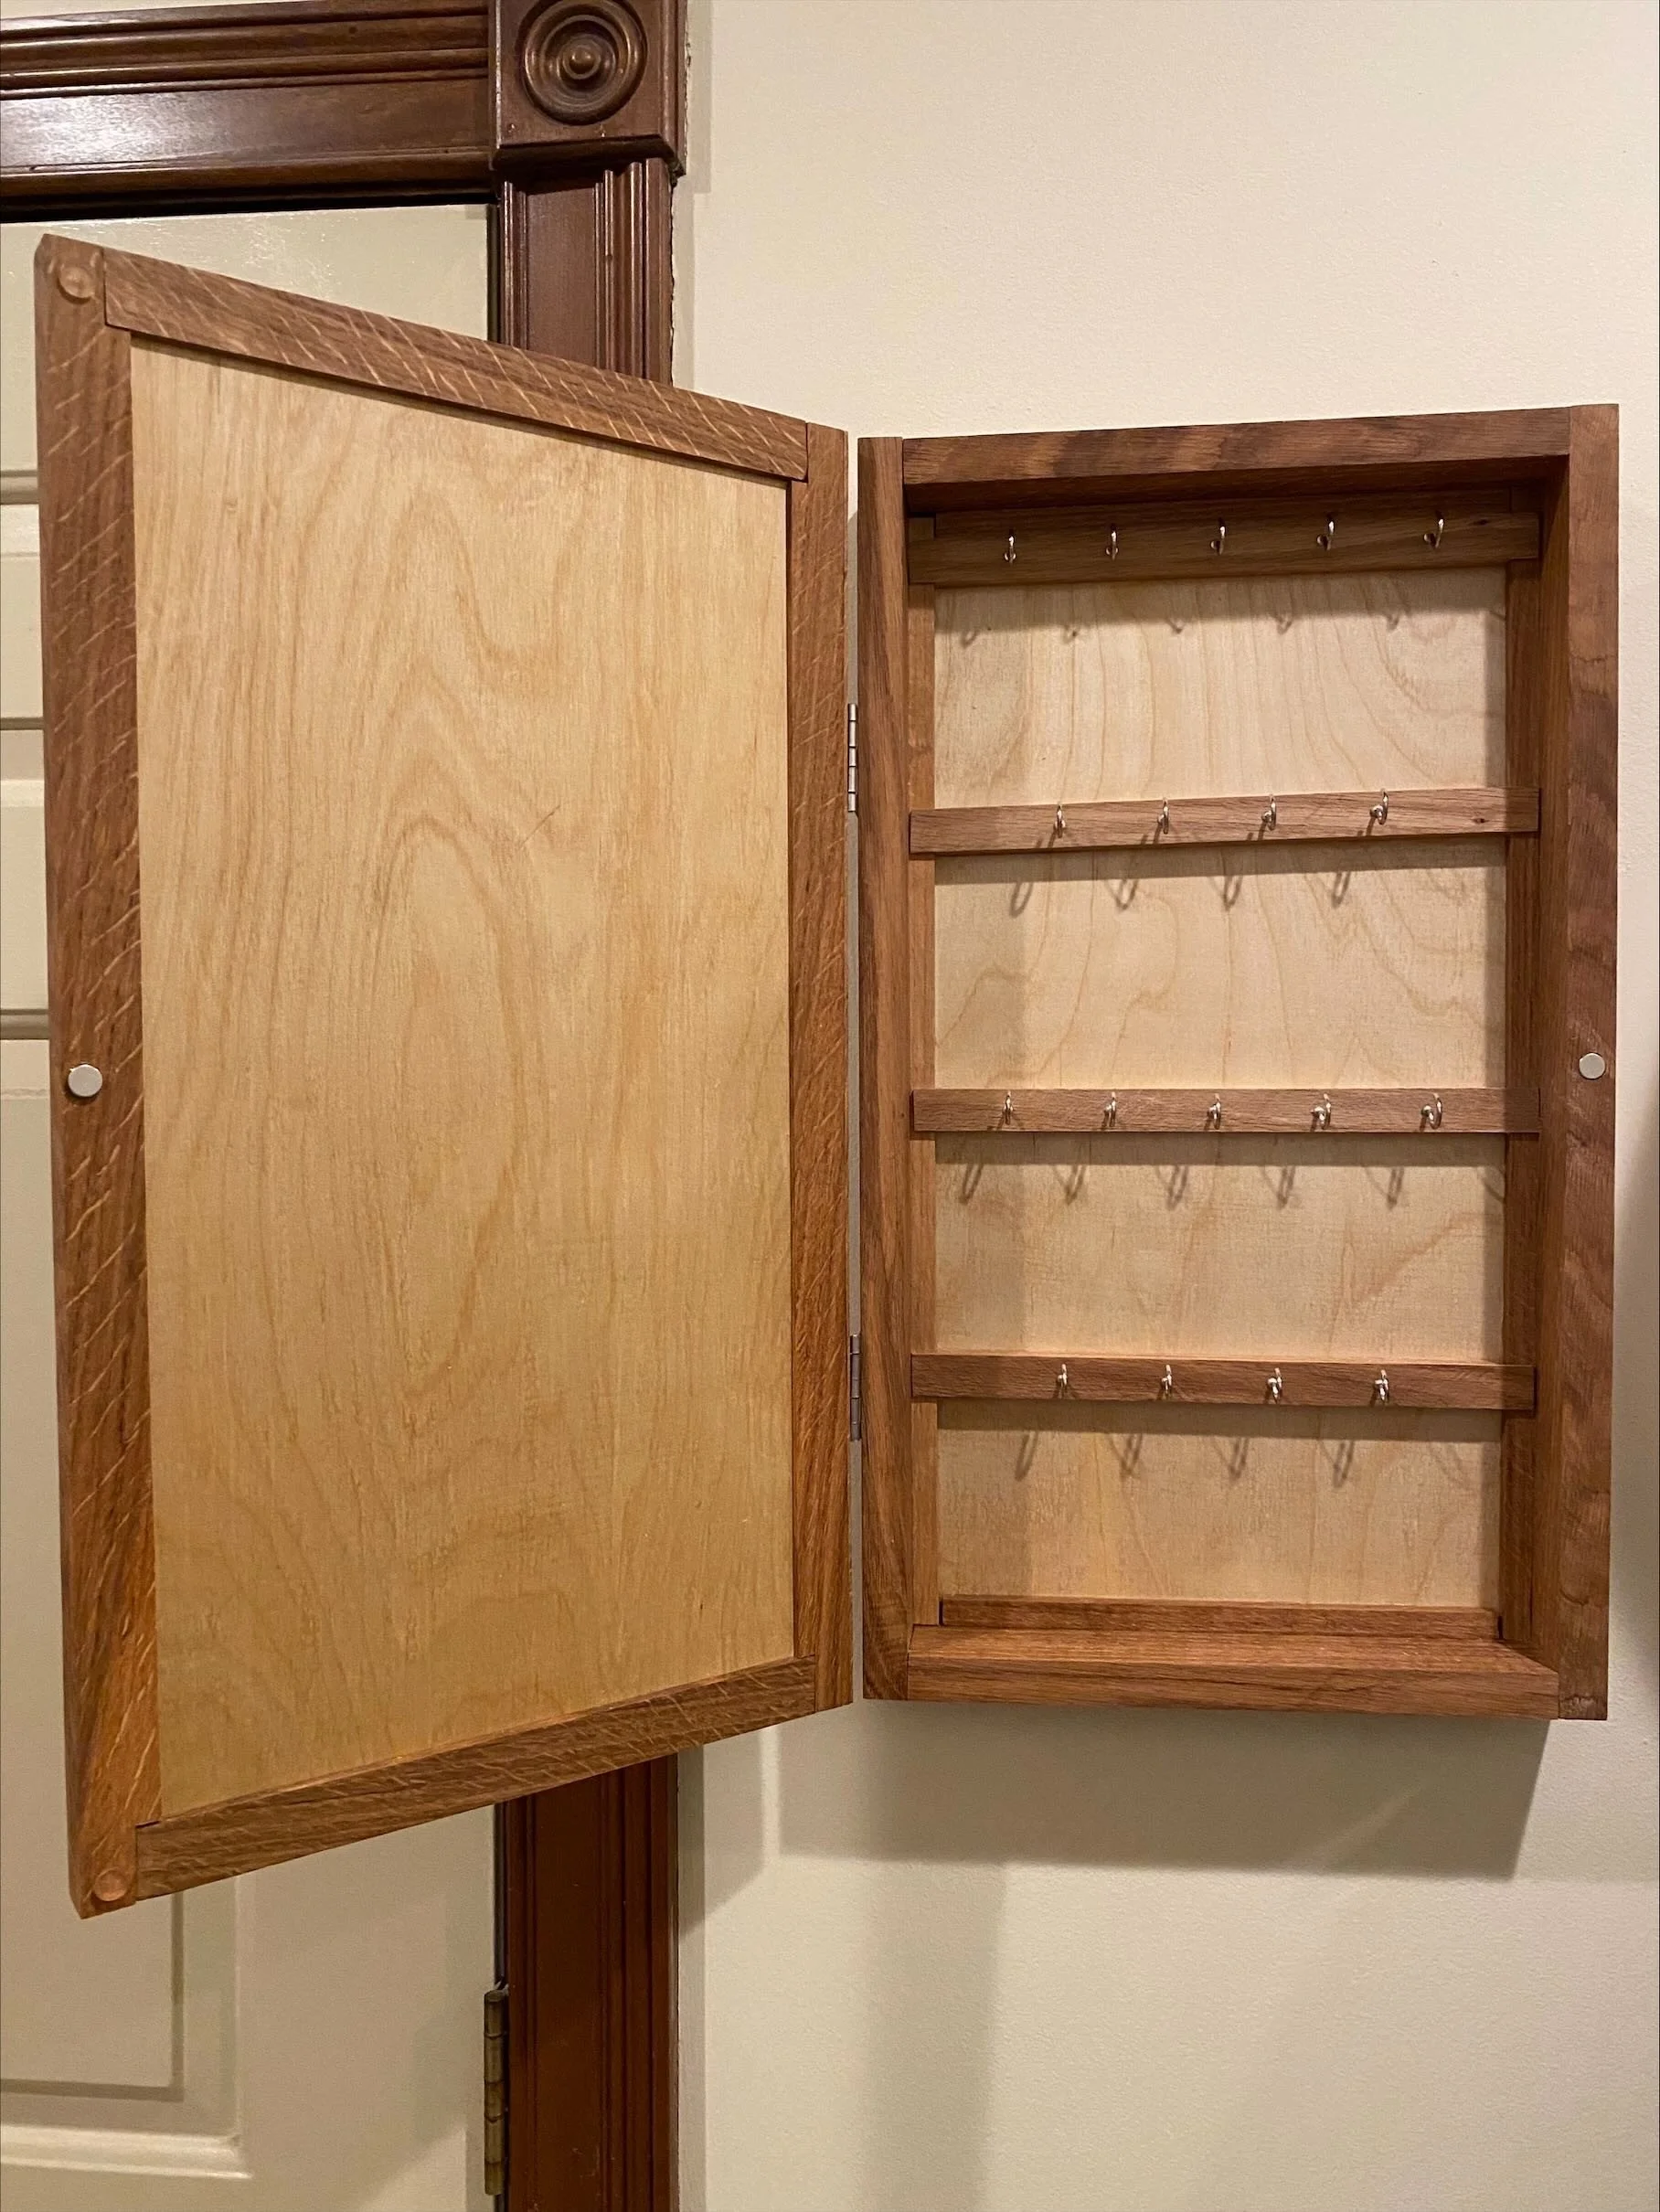
For the key storage, I cut four rows of 1/2 inch by 1 inch by 12 inch oak strips—these would serve as mounting points for screw-in hooks. After gluing these strips in place, I attached hooks, giving each row ample space for keychains of any size.
I turned my attention to the door, opting for a classic Shaker-style design (an oak frame holding an inset panel). Antique brass hinges allowed for smooth operation, and a magnetic clasp ensured the door stayed securely closed.
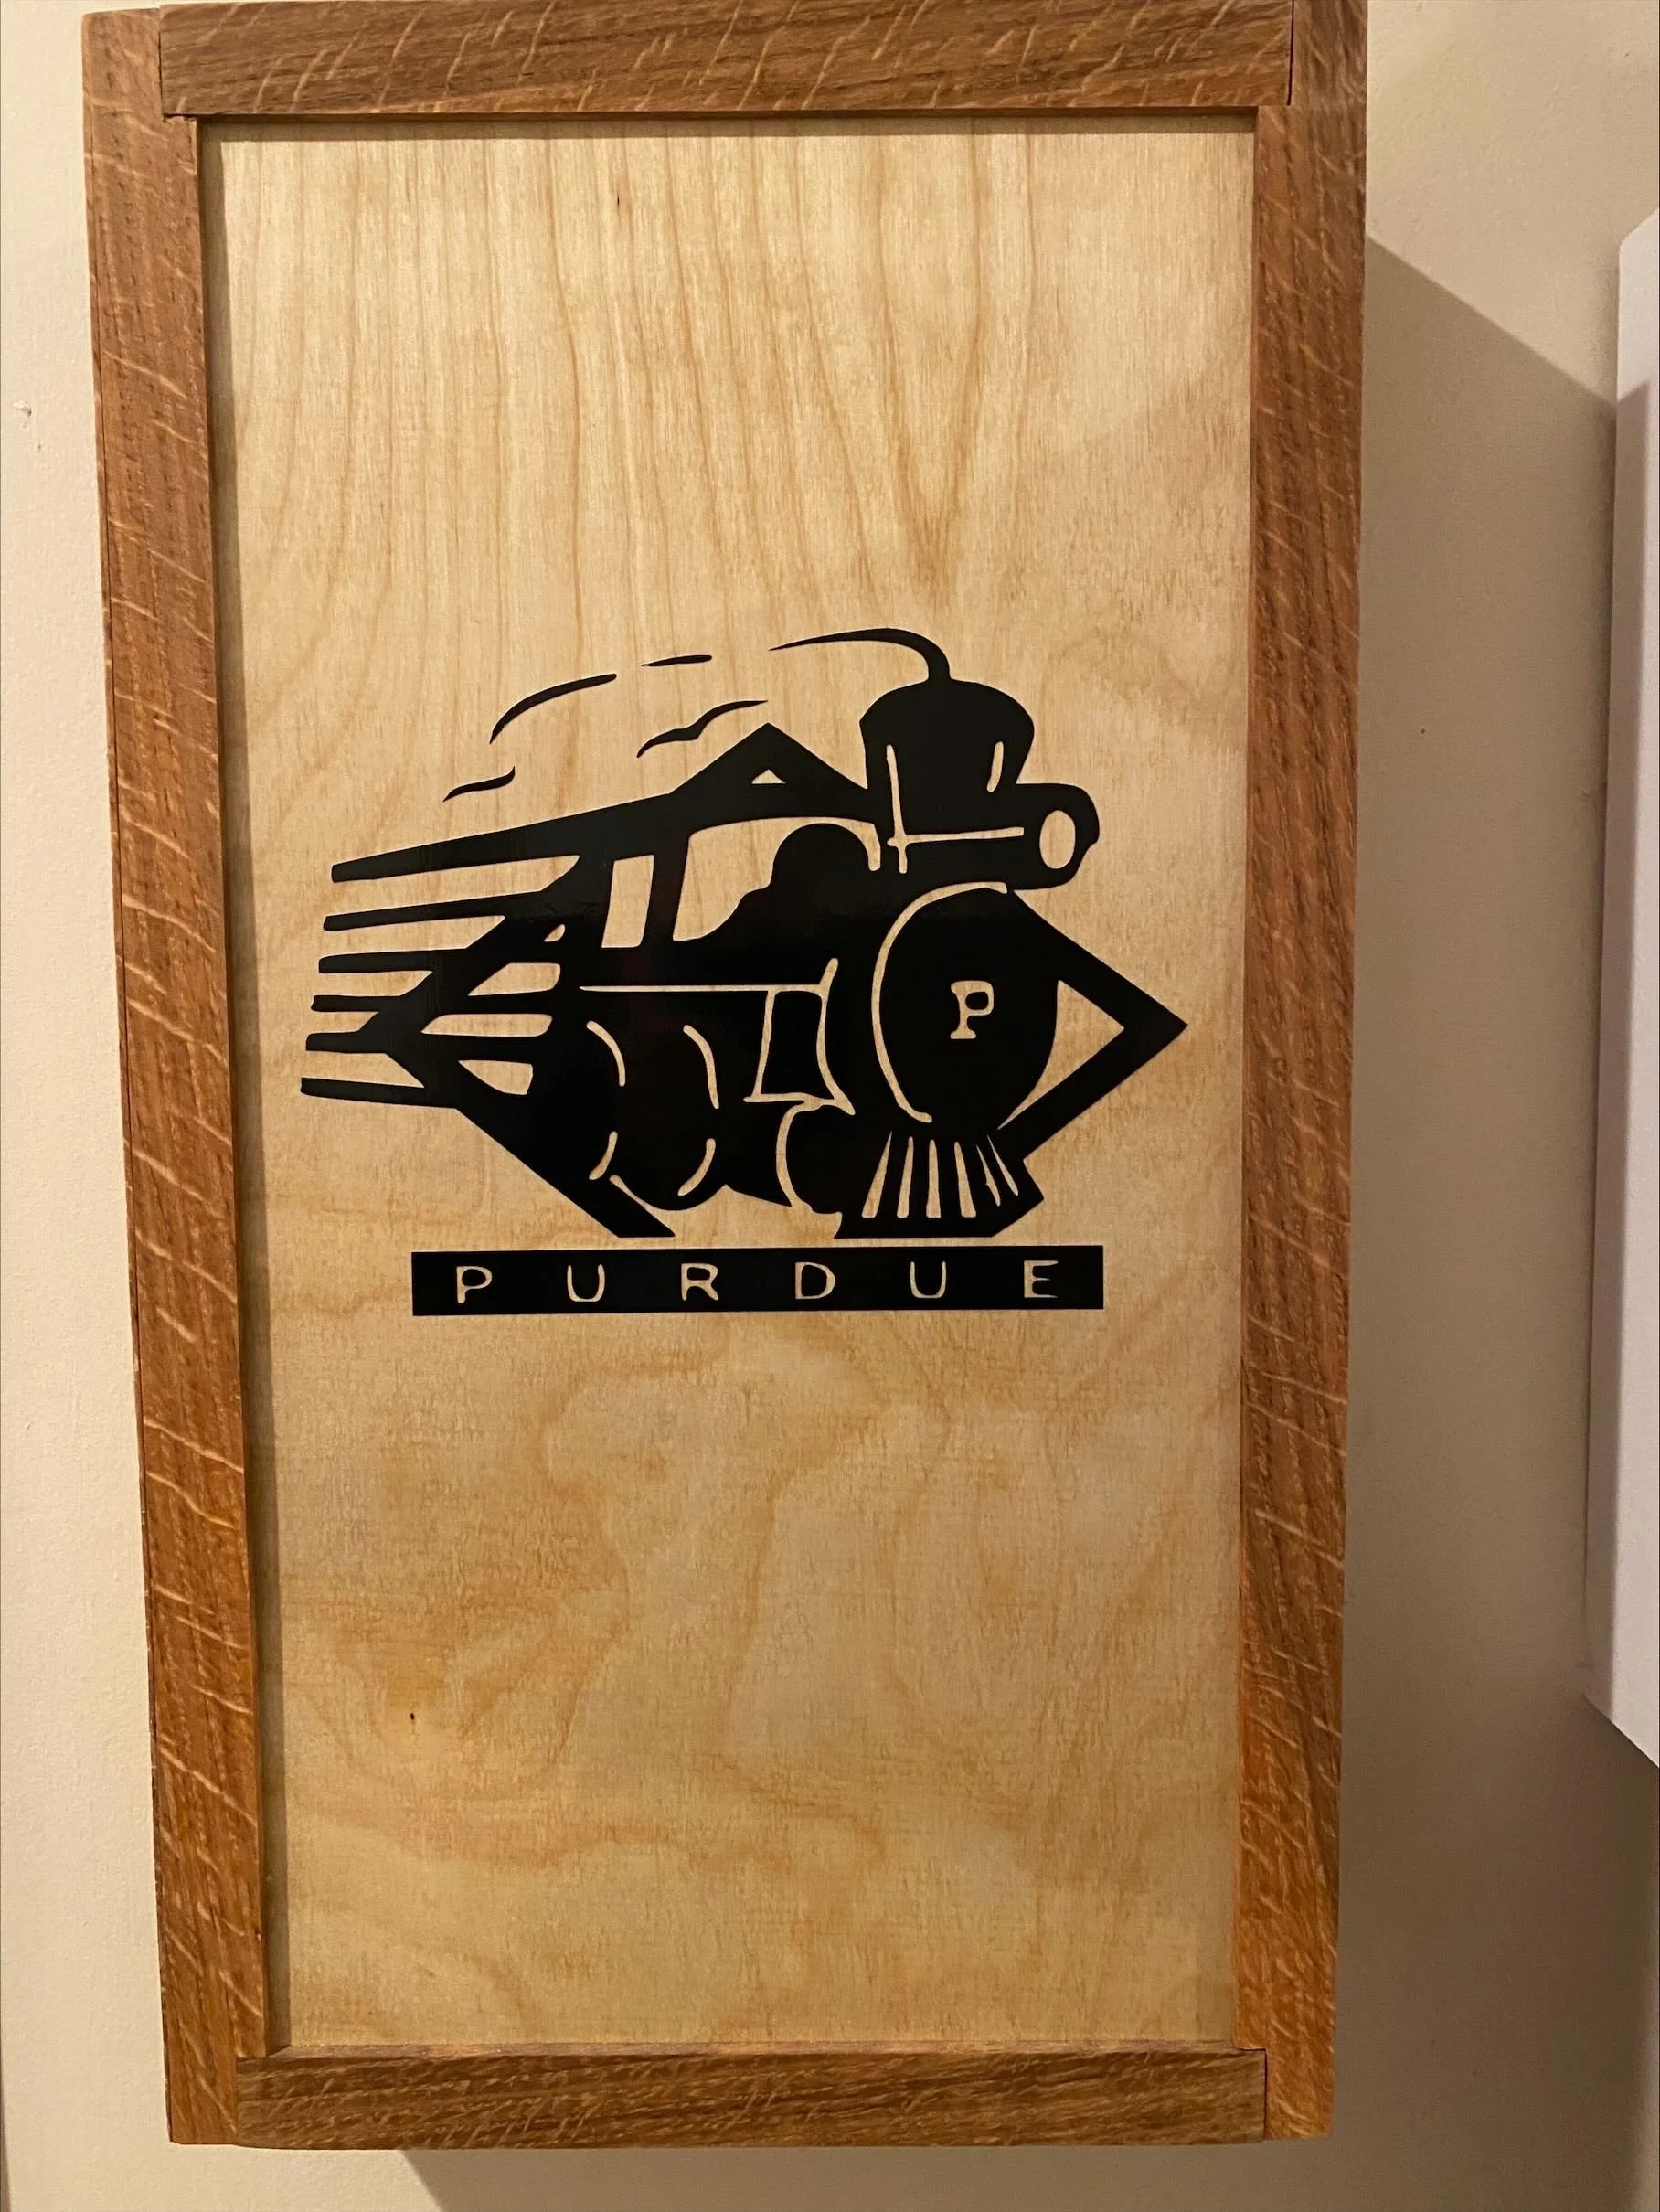
As a wood finish, I applied linseed oil, which accentuated the distinctive grain patterns in the oak and deepened the color. For a personal touch, I asked my daughter to create a Purdue emblem to decorate the door panel, adding a unique and meaningful detail to our entryway.
Reflections
This key cabinet is now a daily convenience. It is sturdy, spacious, and attractive, making a welcome improvement over our old box. Working with quartersawn white oak was a rewarding challenge, and experimenting with miter joints and dadoes added to my joinery skills.

Outdoor Projects
Raised Garden (Mobile)
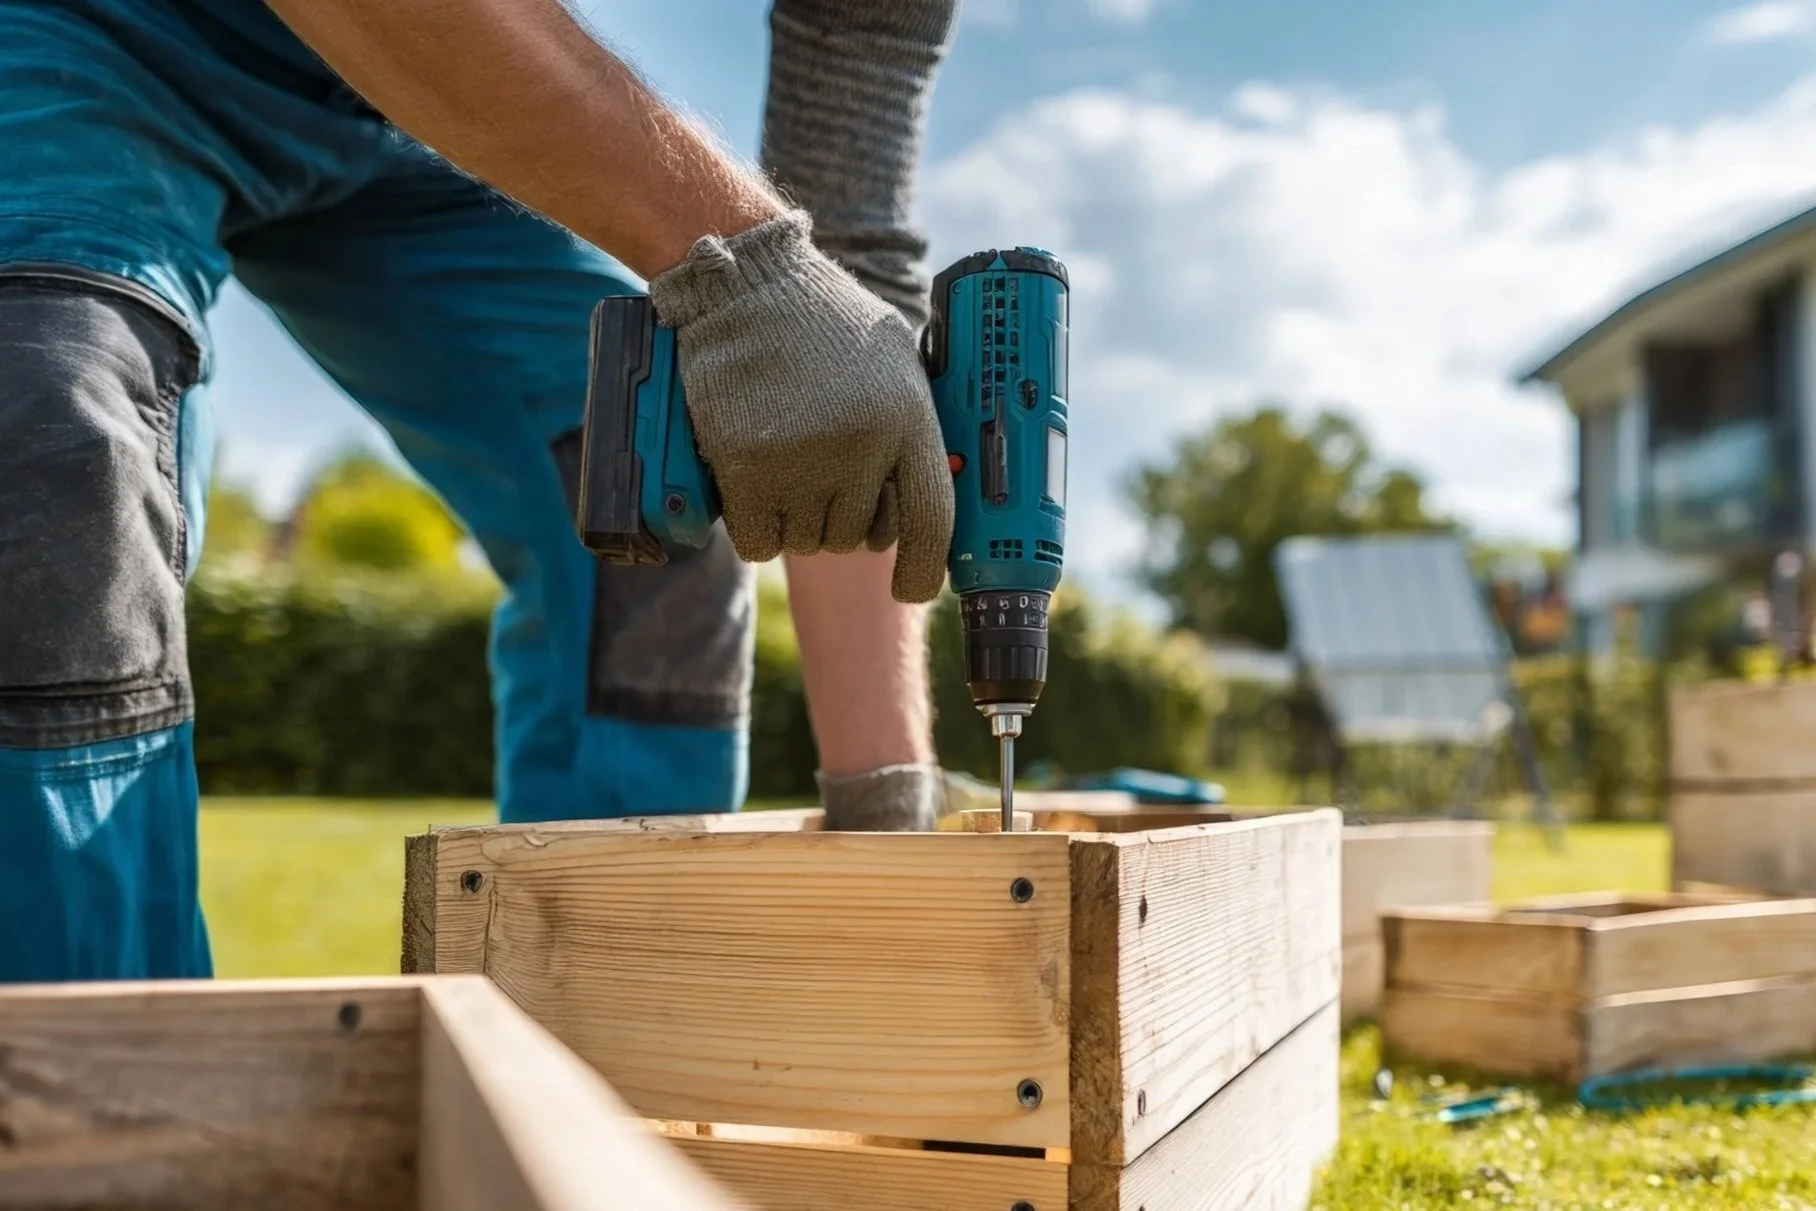
Mobile Raised Garden Bed
After my previous woodworking adventures, my wife came to me with a new idea: a mobile raised garden bed for our deck. She had tried to grow a few tomato plants in some large flower pots. The plants did great, but noticed saw the dog actually eat one of the tomatoes right off of the vine! She envisioned a planter large enough to grow tomatoes, peppers and even try some lettuce, but also easy to move to catch the best sun or simply rearrange our outdoor space for gatherings. I was very excited to take on a project that would blend utility, creativity, and a bit of problem-solving.
Design & Material Selection
Key requirements:
The size needed to be large enough for a handful of vegetable plants, but still manageable
Easy to roll, even when filled with a couple of hundred pounds of moist soil
Tall enough to avoid constant bending and keep the plants away from our vegetable-eating dog
Of course, sturdy and attractive to have as a part of our deck
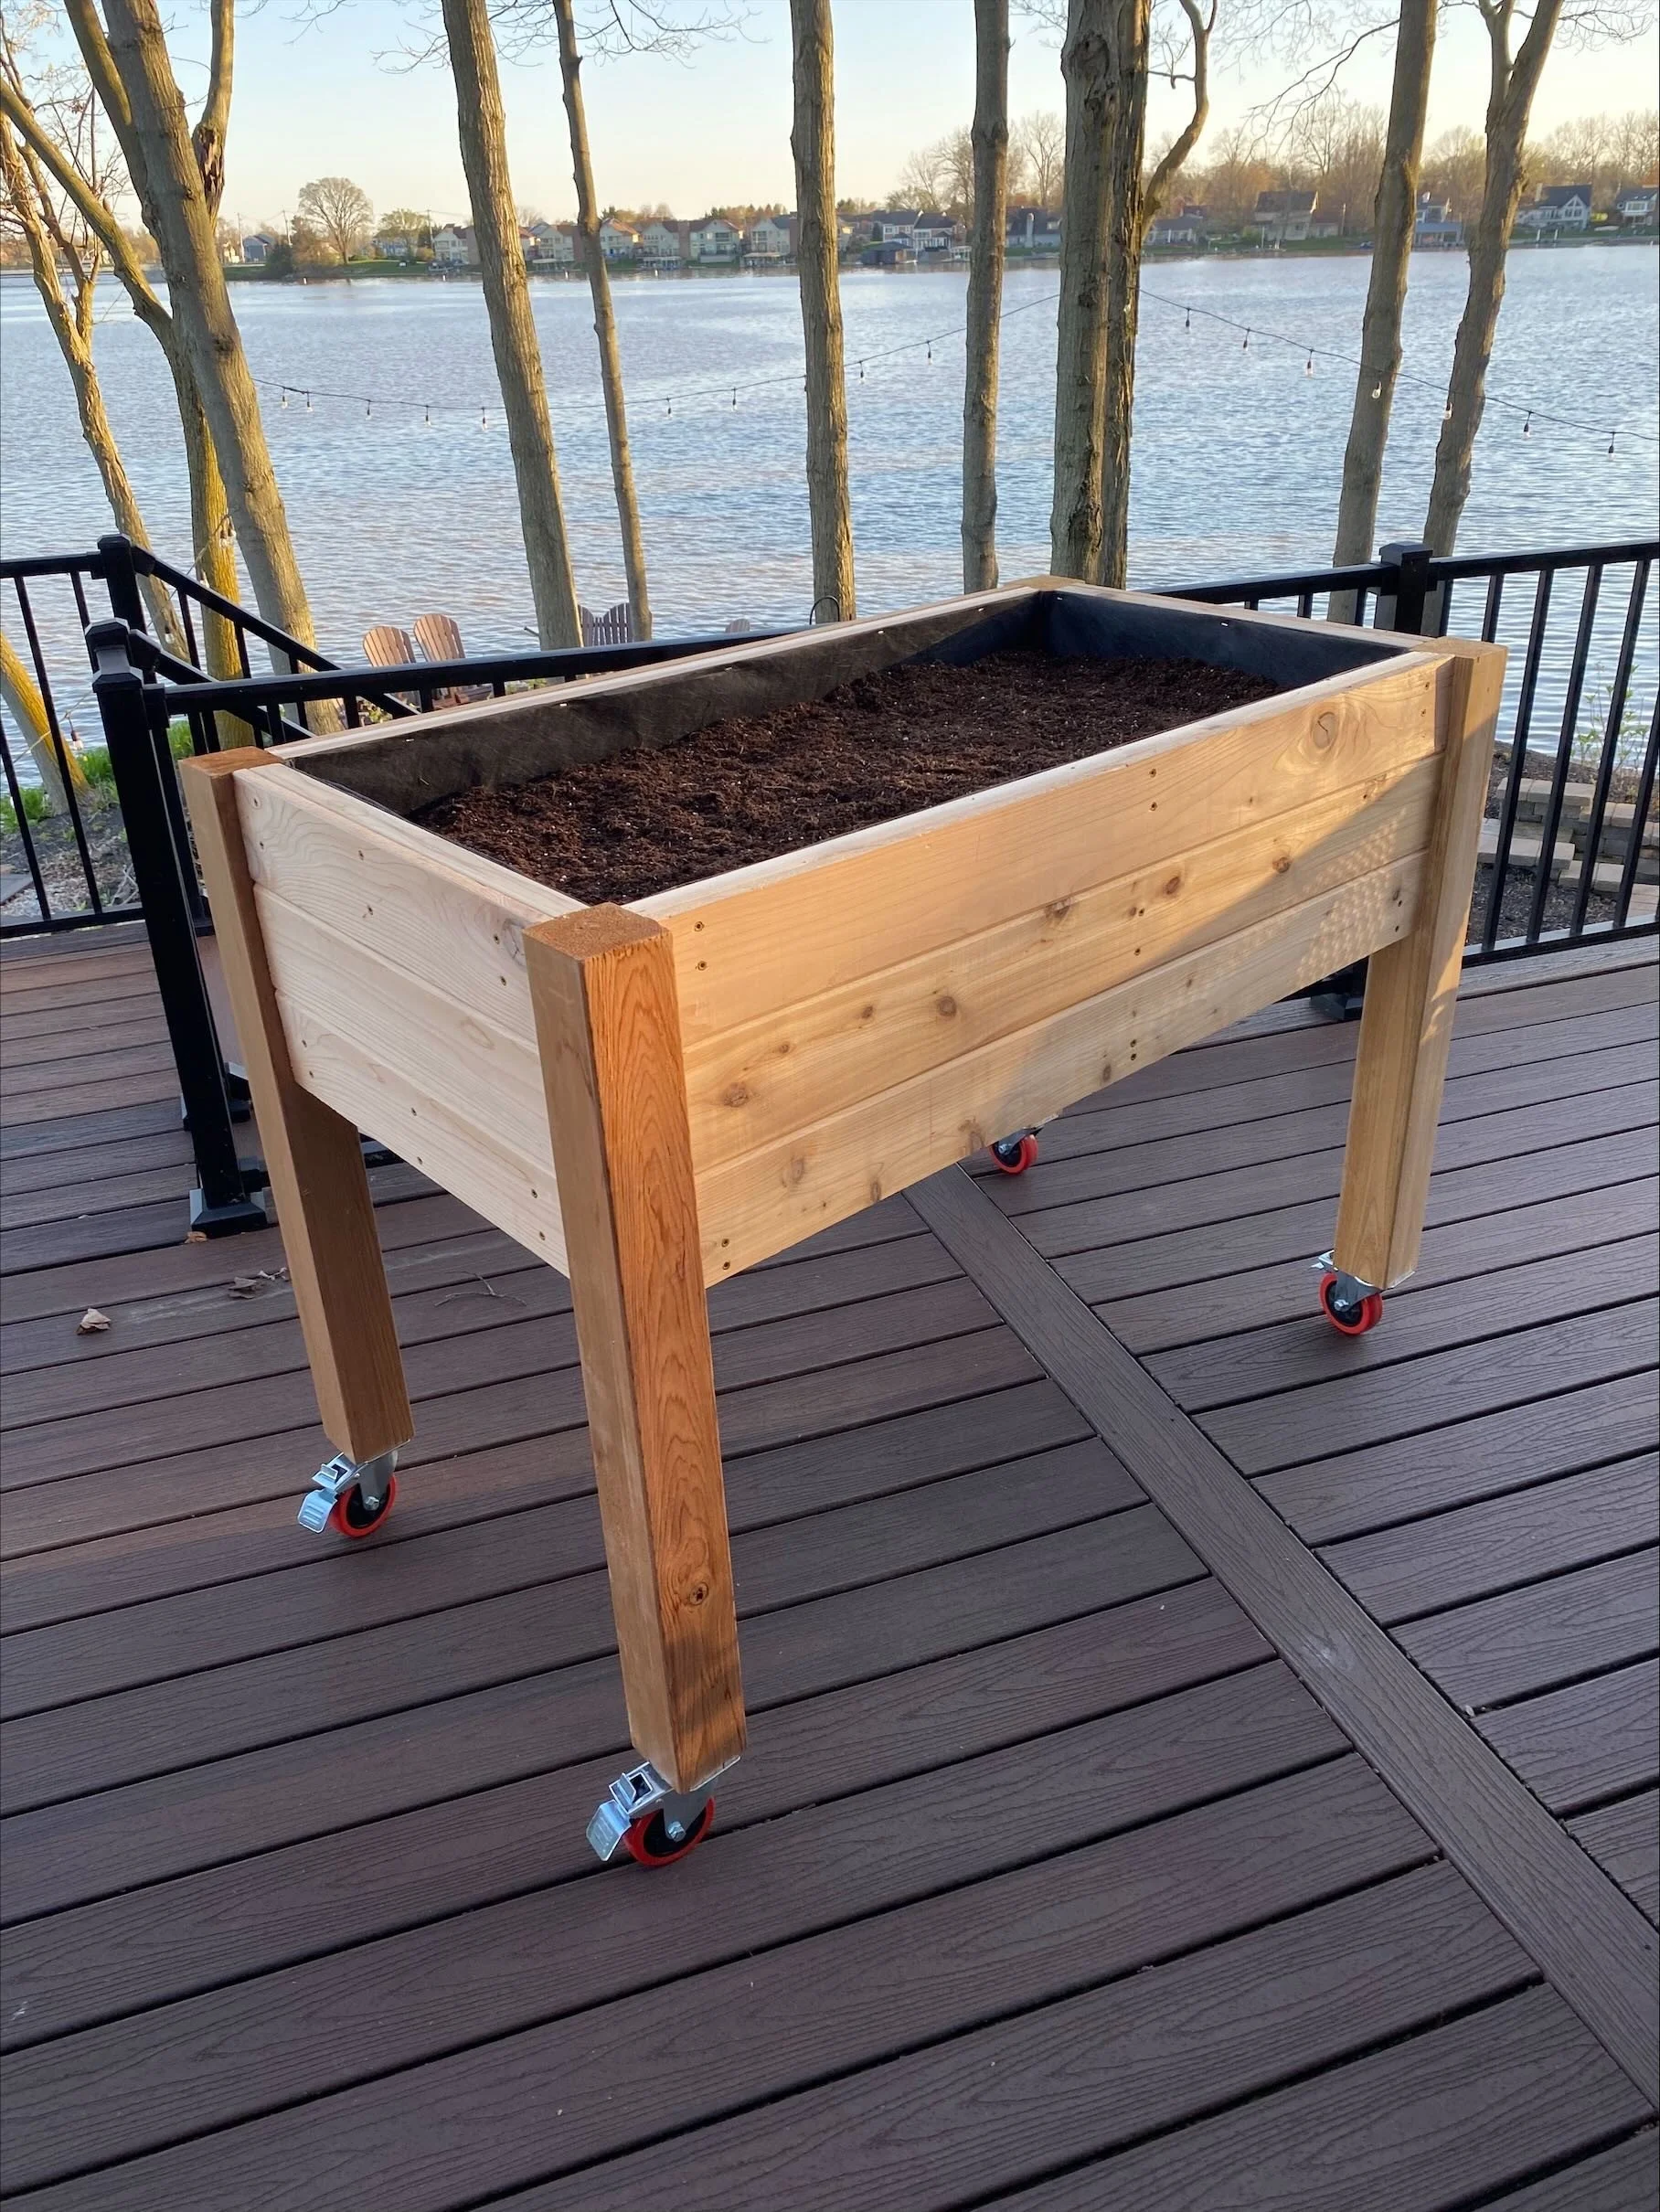
Construction Details
I sketched out a rectangular planter, roughly 4 feet long by 2 feet wide and about 15 inches deep. This would provide plenty of planting space and soil volume without being impossible to move. I chose heavy-duty, lockable casters for each corner, with a combined weight rating far exceeding the expected load. I reinforced the base with extra cross-pieces to support wet soil and prevent sagging. For drainage, I organized the slats so that a two layers of landscape fabric would soil in place while letting excess water escape. For the sides, I used tongue and groove cedar planks. They went together well but I found that I needed to reenforce the to keep the soil from pushing out the sides.
Reflections
I am proud of how the finished planter turned out, and my wife loves having a convenient, movable garden right on our deck. She can easily shift it to catch the best sun or create space for gatherings as needed. The tongue and groove construction gave it a crisp and polished look, though I realized I should have planned more thoroughly for additional reinforcements. Going forward, I wanted to learn more about joinery techniques, especially ways to discreetly hide screws and fasteners, to improve both the strength and the appearance of my future projects.